 Save
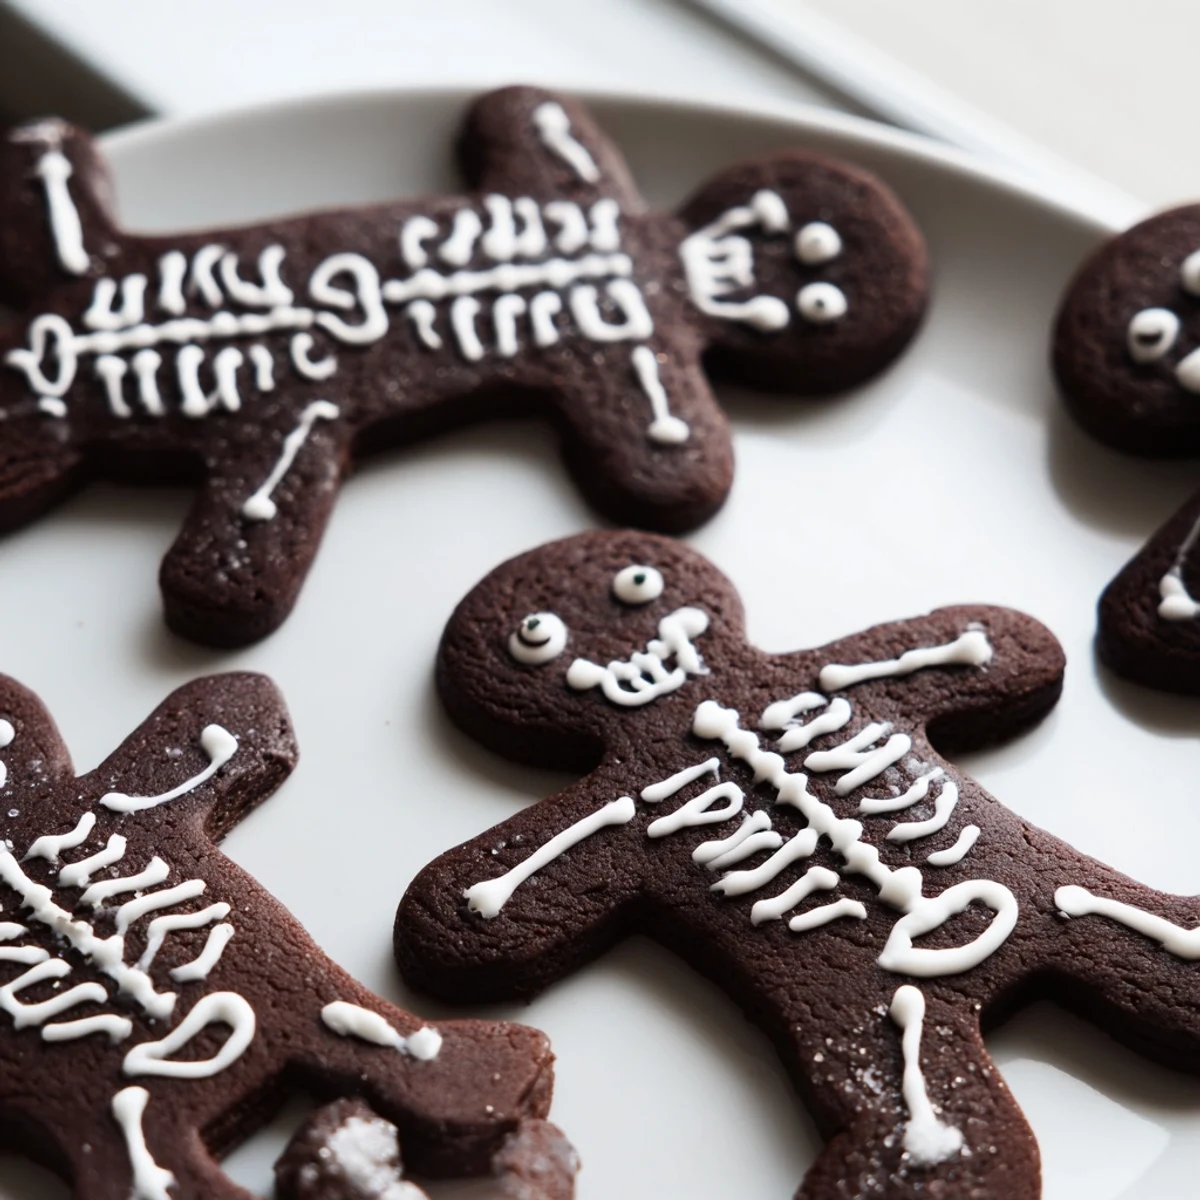
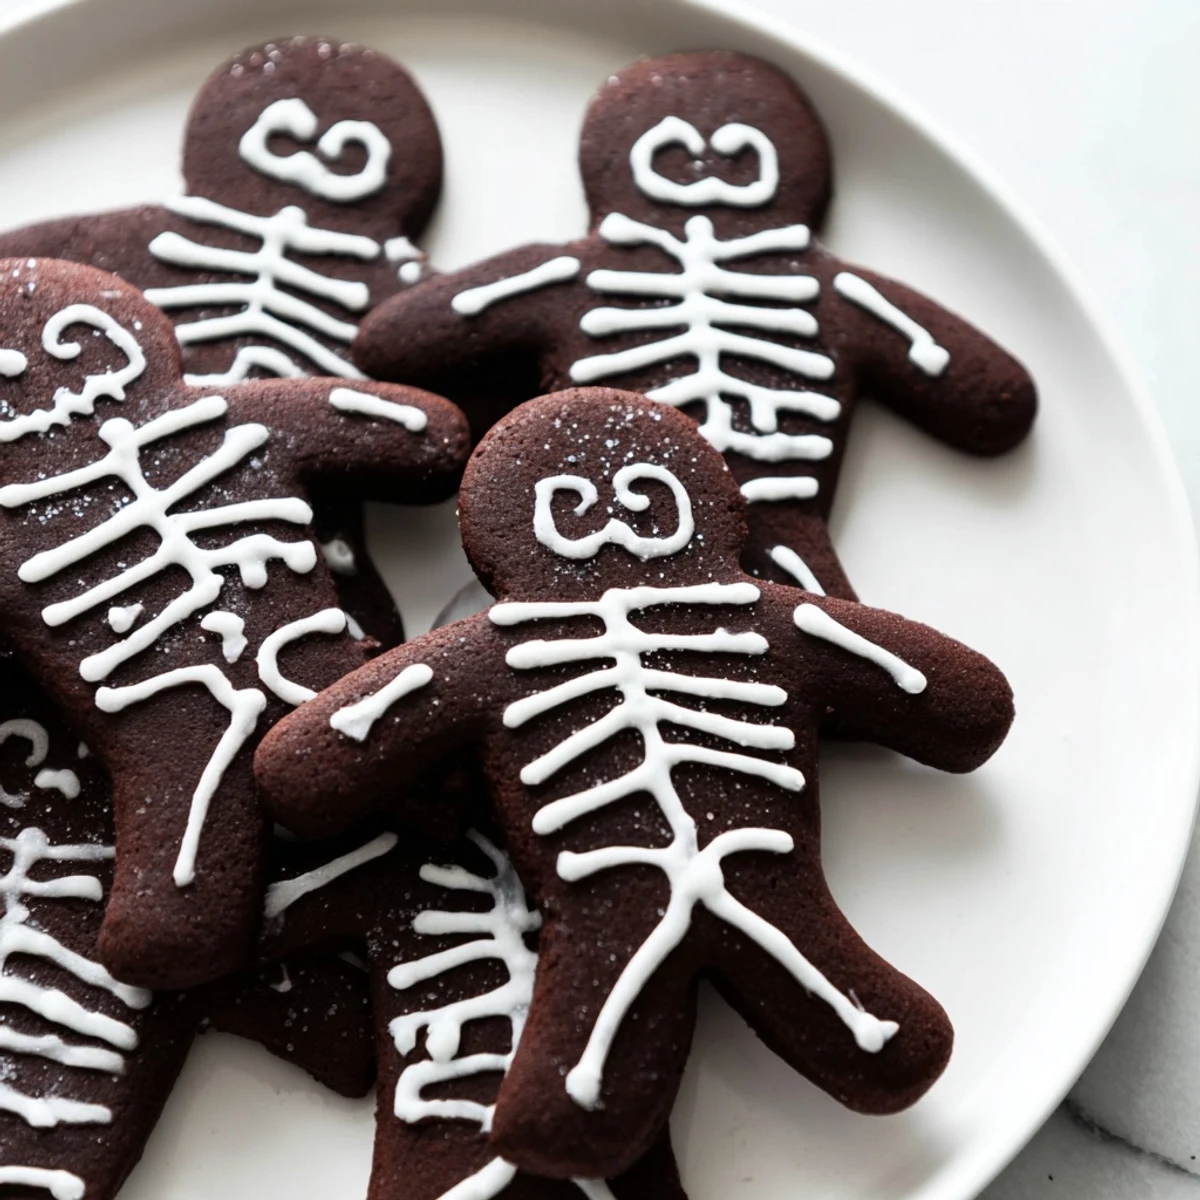
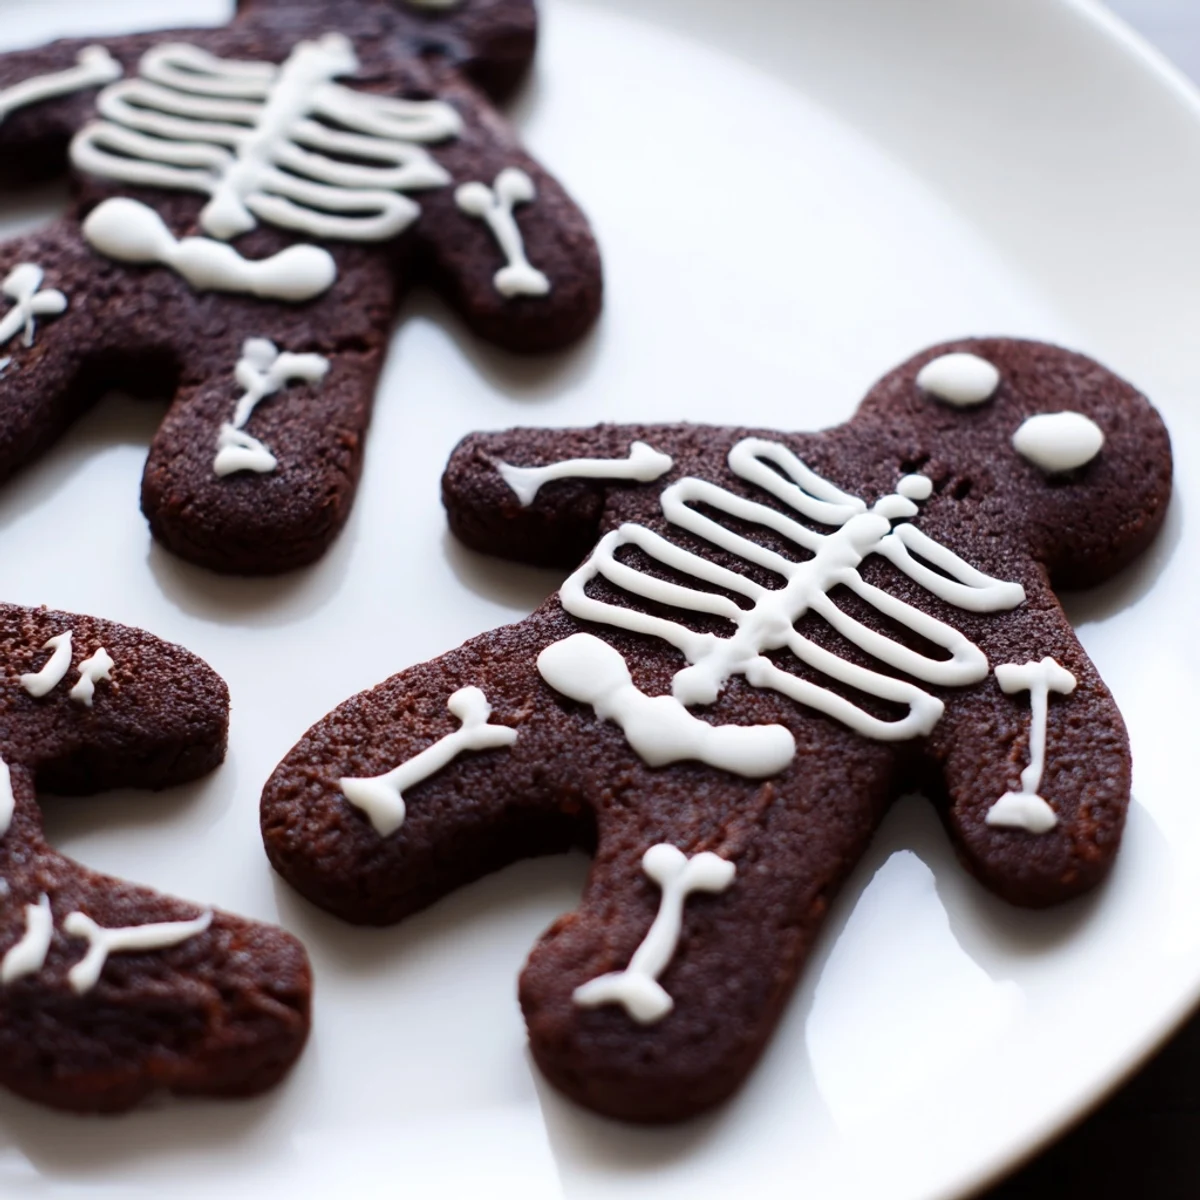
Save Create these delightfully spooky chocolate cinnamon skeleton cookies for your next Halloween gathering. The rich cocoa dough is infused with warm cinnamon spices, then cut into skeleton shapes and decorated with royal icing to create fun, edible bone designs.
Perfect for parties or as a creative weekend baking project, these treats combine the comforting flavors of spiced chocolate with playful Halloween spirit. The dough requires chilling time, so plan ahead for best results when rolling and cutting.
The first time I made these skeleton cookies was actually on a complete whim, the kind of spontaneous baking decision that happens when you spot a skeleton cookie cutter in a clearance bin and suddenly decide October needs more chocolate in it. My kitchen ended up dusted in cocoa powder like a crime scene, but the way that cinnamon wafted through the whole house made it absolutely worth the mess. Now they've become this weird little tradition I can't shake, appearing at everything from Halloween parties to just-random-Tuesday movie nights.
Last year I made three batches back-to-back because my neighbor's kids caught wind of them through an open window, and suddenly I had four tiny skeletons in skeleton costumes on my doorstep demanding cookies. The best part was watching them decorate each skeleton with different personalities, giving some buck teeth and others tiny hats before anyone even took a bite.
Ingredients
- All-purpose flour: The foundation that gives these cookies their structure for holding those intricate skeleton shapes
- Unsweetened cocoa powder: Use Dutch-processed for a deeper, darker chocolate color that looks more dramatic against white icing
- Ground cinnamon: This warming spice pairs beautifully with chocolate and adds that cozy feeling
- Baking powder: Just enough to give the cookies a slight lift without spreading too much
- Salt: Essential for balancing the sweetness and enhancing the chocolate flavor
- Unsalted butter: Room temperature is crucial here for proper creaming with the sugar
- Granulated sugar: Creates the crisp edges while keeping centers slightly tender
- Large egg: Binds everything together and adds richness
- Vanilla extract: Pure vanilla makes all the difference in the final flavor
- Powdered sugar: Sifting first prevents lumps in your royal icing
- Egg white: Creates the perfect glossy, hard-drying icing for detailed decorating
- Water: Adjust this to get your icing to just the right pipeable consistency
Instructions
- Mix the dry ingredients:
- Whisk together flour, cocoa powder, cinnamon, baking powder, and salt in a medium bowl until fully combined and uniform in color
- Cream the butter and sugar:
- Beat butter and sugar in a large bowl for about 2 minutes until the mixture turns pale and fluffy, then add the egg and vanilla
- Combine the dough:
- Gradually mix in the dry ingredients just until a dough forms, being careful not to overwork it
- Chill the dough:
- Divide dough in half, flatten into disks, wrap in plastic, and refrigerate for at least 30 minutes
- Prep your workspace:
- Preheat oven to 350°F and line baking sheets with parchment paper
- Roll and cut:
- Roll dough to 1/4 inch thickness on a lightly floured surface and cut out skeleton shapes
- Bake to perfection:
- Place cookies on prepared sheets and bake for 10-12 minutes until set, then cool completely on a wire rack
- Make the royal icing:
- Beat egg white with sifted powdered sugar and water until smooth and pipeable
- Decorate your skeletons:
- Transfer icing to a piping bag with a fine tip and create skeleton designs, then let dry completely
 Save
Save My favorite memory with these cookies was the year I accidentally made one skeleton look like he was waving hello, and now my family refuses to let me serve them unless at least one cookie on the plate is doing that little wave. It's become this tiny, silly tradition that makes me smile every single time.
Making The Icing Just Right
The royal icing consistency makes or breaks your skeleton details. You want it thick enough to hold its shape when piped but fluid enough to smooth out slightly. Start with less water and add drop by drop until you reach that perfect honey-like texture.
Getting Creative With Decorations
While traditional white skeleton bones look classic, don't be afraid to experiment with colored icing or edible markers for added detail. Some of my favorite versions have included tiny bow ties, hats, or even mustaches on the skeletons.
Storage And Make-Ahead Tips
These cookies actually develop deeper flavor after a day or two, making them perfect for preparing ahead of Halloween parties. Store them in single layers between parchment paper in an airtight container.
- The dough disks freeze beautifully for up to three months if you want to prep way in advance
- Undecorated baked cookies can be frozen and thawed for fresh decorating later
- Once decorated, they'll stay fresh for about a week at room temperature
 Save
Save Hope these spooky little treats bring as much joy to your kitchen as they've brought to mine over the years. Happy baking, and may your skeletons always have perfect teeth.
Recipe FAQs
- → How long should I chill the cookie dough?
-
Refrigerate the dough for at least 30 minutes before rolling. This firms the butter and prevents the cookies from spreading too much while baking, ensuring your skeleton shapes hold their definition.
- → Can I make the dough ahead of time?
-
Yes, the dough can be wrapped and stored in the refrigerator for up to 3 days or frozen for up to 3 months. Thaw frozen dough overnight in the refrigerator before rolling and cutting.
- → What if I don't have a skeleton cookie cutter?
-
Gingerbread man cutters work perfectly well for creating skeleton shapes. You can also freehand cut bone shapes or use a small knife to create individual skeleton parts like skulls, ribs, and femurs.
- → How do I store the decorated cookies?
-
Once the royal icing has completely dried, store the cookies in an airtight container at room temperature for up to one week. Place parchment paper between layers to prevent the decorations from smudging.
- → Can I use meringue powder instead of egg white?
-
Yes, replace one large egg white with 2 tablespoons of meringue powder mixed with the powdered sugar and water. This creates a stable royal icing that's safe for all ages and dries to a hard finish.
- → Why did my cookies spread in the oven?
-
Spreading usually occurs when the dough becomes too warm. Always keep dough chilled until ready to bake, and work in batches if your kitchen is warm. Proper chilling helps maintain crisp edges and defined shapes.