 Save
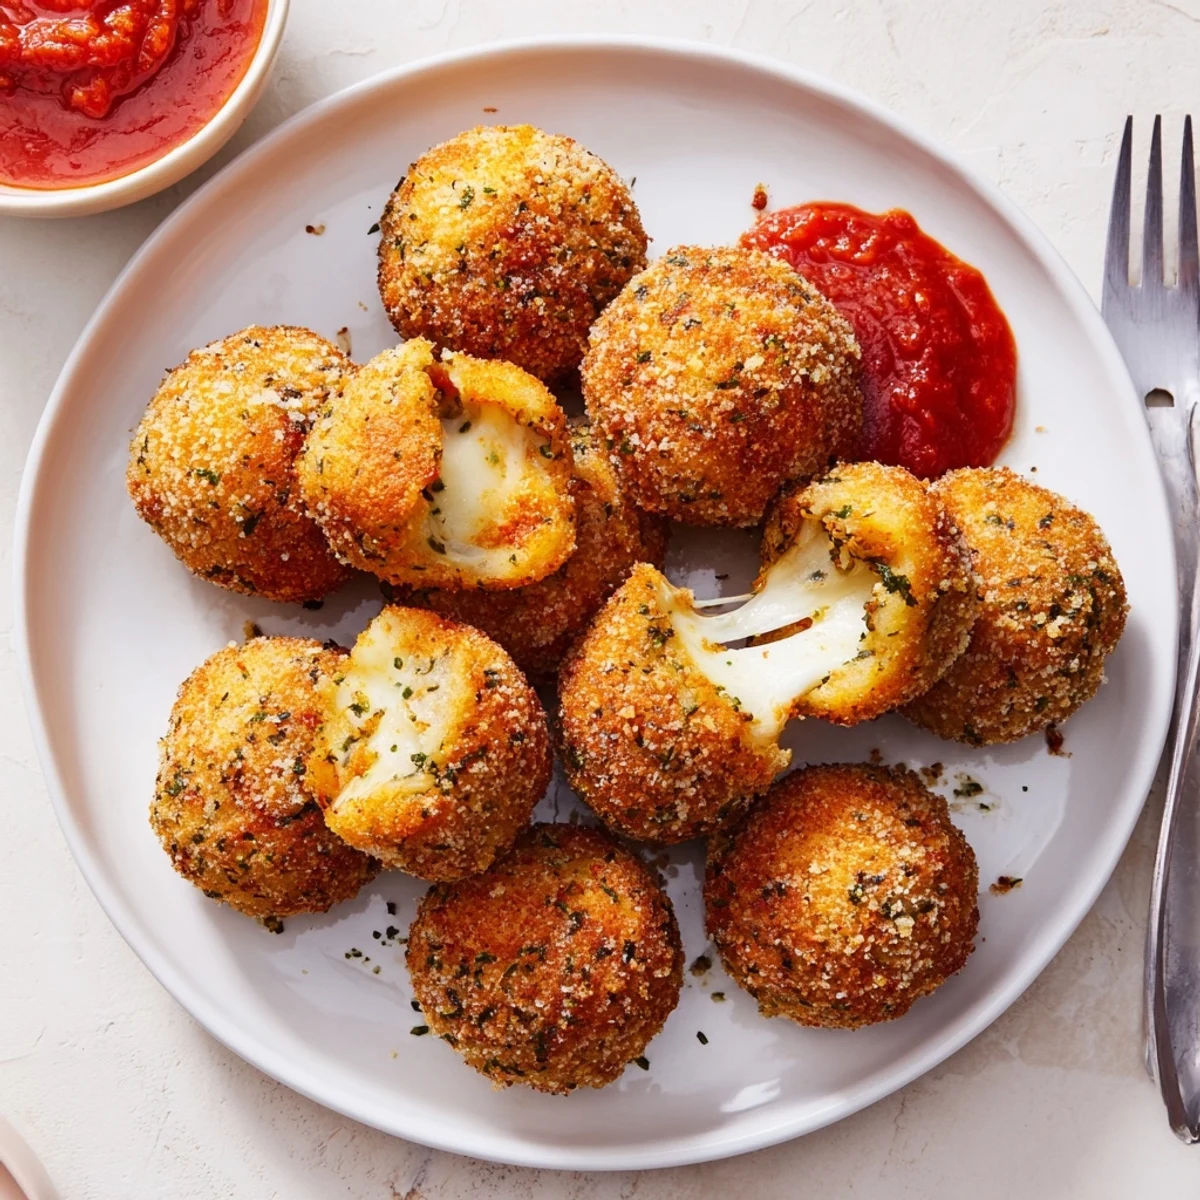
Save These golden mozzarella balls deliver the perfect contrast between crispy exteriors and oozy, melted cheese centers. Each bite-sized piece features fresh mozzarella cubes, triple-coated in seasoned flour, egg, and crispy panko breadcrumbs for maximum crunch.
The preparation comes together in just 25 minutes, making them ideal for last-minute gatherings or casual snacking. Frying at 175°C ensures the coating turns perfectly golden while the cheese melts into that signature stretchy texture.
Refrigerating the breaded pieces before frying helps the coating set, preventing separation during cooking. For extra crunch, consider a double coating of egg and breadcrumbs. Serve hot with marinara, aioli, or ranch for dipping.
The first time I made these mozzarella cheese balls was for a last minute game night with friends. Someone jokingly called them grown up mozzarella sticks and the name stuck immediately. Now they are the most requested appetizer at every gathering.
I learned the hard way that cold cheese fries better than room temperature. That ten minutes in the fridge makes all the difference between cheese that stays put and cheese that escapes into your oil.
Ingredients
- Mozzarella cheese: Cutting into uniform 2 cm cubes ensures even cooking and that perfect gooey center
- All purpose flour: This is your first line of defense creating a dry surface for the egg to cling to
- Large eggs: Beat them really well until no whites are visible for the smoothest coating
- Breadcrumbs: Panko adds incredible crunch but regular breadcrumbs work perfectly fine too
- Italian herbs and garlic powder: These optional seasonings transform plain breading into something aromatic and savory
- Salt and black pepper: Essential for bringing out all the flavors in every layer
- Vegetable oil: You need enough for deep frying so each ball floats freely
Instructions
- Prepare your coating station:
- Set up three shallow bowls in order flour mixed with seasonings then beaten eggs then breadcrumbs. Having everything ready before you start prevents chaos and sticky fingers.
- Prep the cheese:
- Pat those mozzarella cubes completely dry with paper towels. Any moisture on the surface will keep the flour from sticking properly.
- Start the coating process:
- Roll each cube first in the flour shaking off excess then dip in egg letting any extra drip off and finally press firmly into breadcrumbs. Make sure every surface is covered.
- Double coat for extra crunch:
- For restaurant style results go back through the egg and breadcrumb one more time. This second layer is what creates that satisfying thick crispy shell.
- Chill before frying:
- Place all breaded balls on a tray and refrigerate for at least 10 minutes. This step is crucial for helping the coating set and preventing cheese leaks.
- Heat the oil:
- Pour enough vegetable oil into your deep pan or fryer to reach 175°C (350°F). The oil should be deep enough that the balls can float without touching the bottom.
- Fry in batches:
- Cook only a few balls at a time for 1 to 2 minutes until golden brown. Overcrowding drops the oil temperature and makes them soggy instead of crispy.
- Drain and serve:
- Lift them out with a slotted spoon and let drain on paper towels. Serve immediately while the cheese is still molten and at its most irresistible.
 Save
Save These became legendary at our house after my sister accidentally used panko instead of regular breadcrumbs. The extra crunch was such a hit that we have never gone back to the original version.
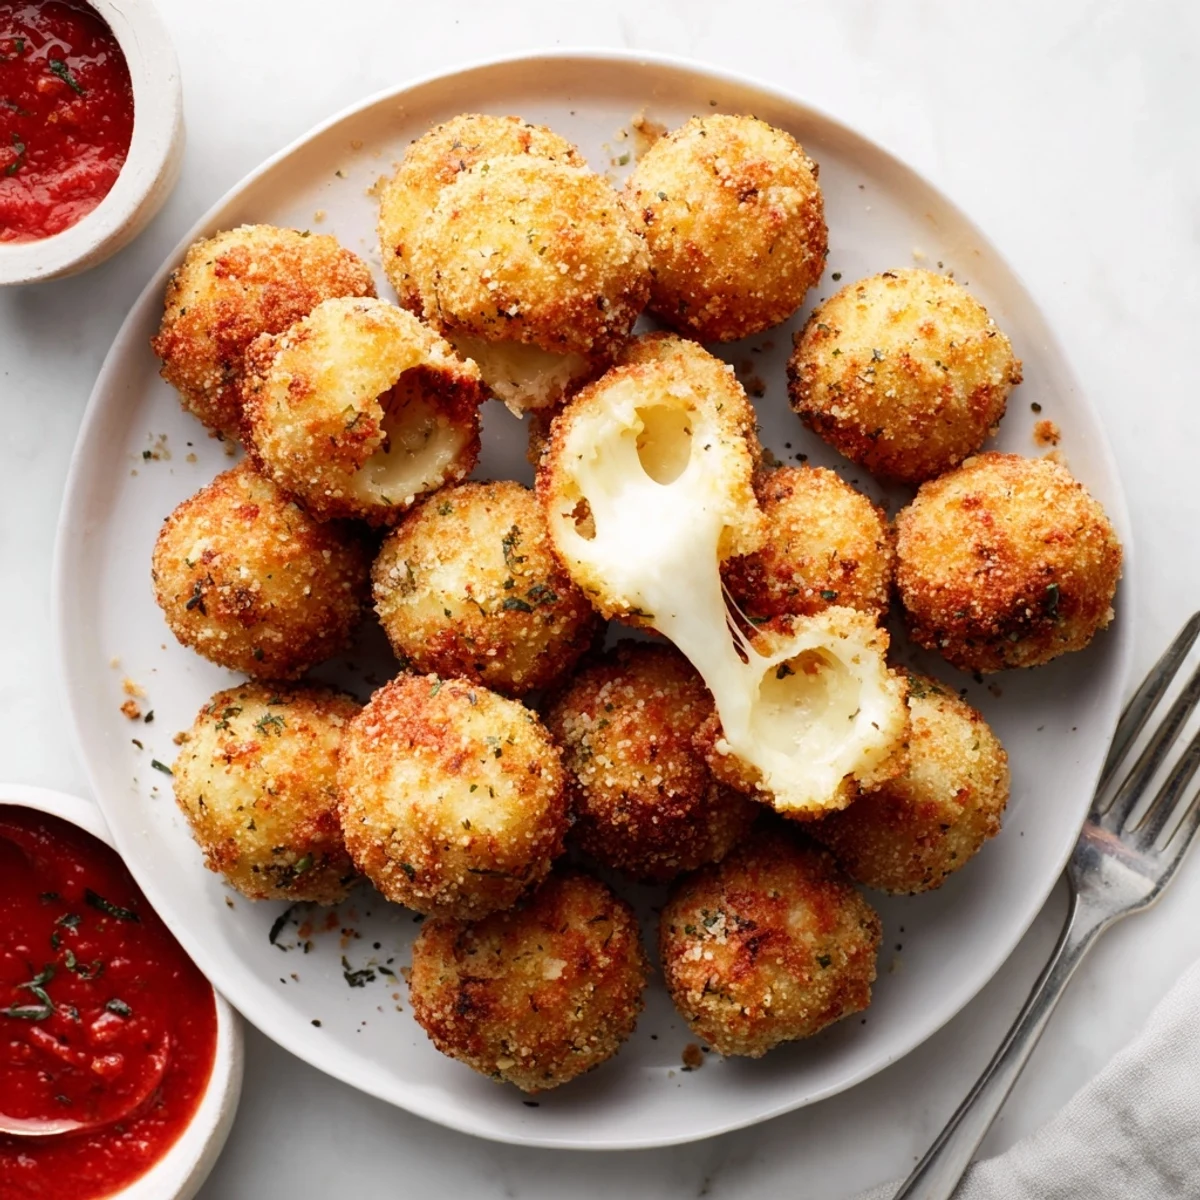
Mastering The Double Coating
The double coat technique is what separates good mozzarella balls from great ones. That second layer of egg and breadcrumb creates an armor strong enough to contain the melting cheese while staying incredibly light and crispy. I usually set up two separate breadcrumb bowls so the first one does not get too clumpy from the egg mixture.
Oil Temperature Secrets
175°C (350°F) is your sweet spot for these cheese balls. Too cold and they will absorb oil becoming greasy. Too hot and the outside burns before the cheese melts. I always drop a small breadcrumb into the oil first if it sizzles immediately and floats to the top the oil is ready.
Serving Suggestions That Work
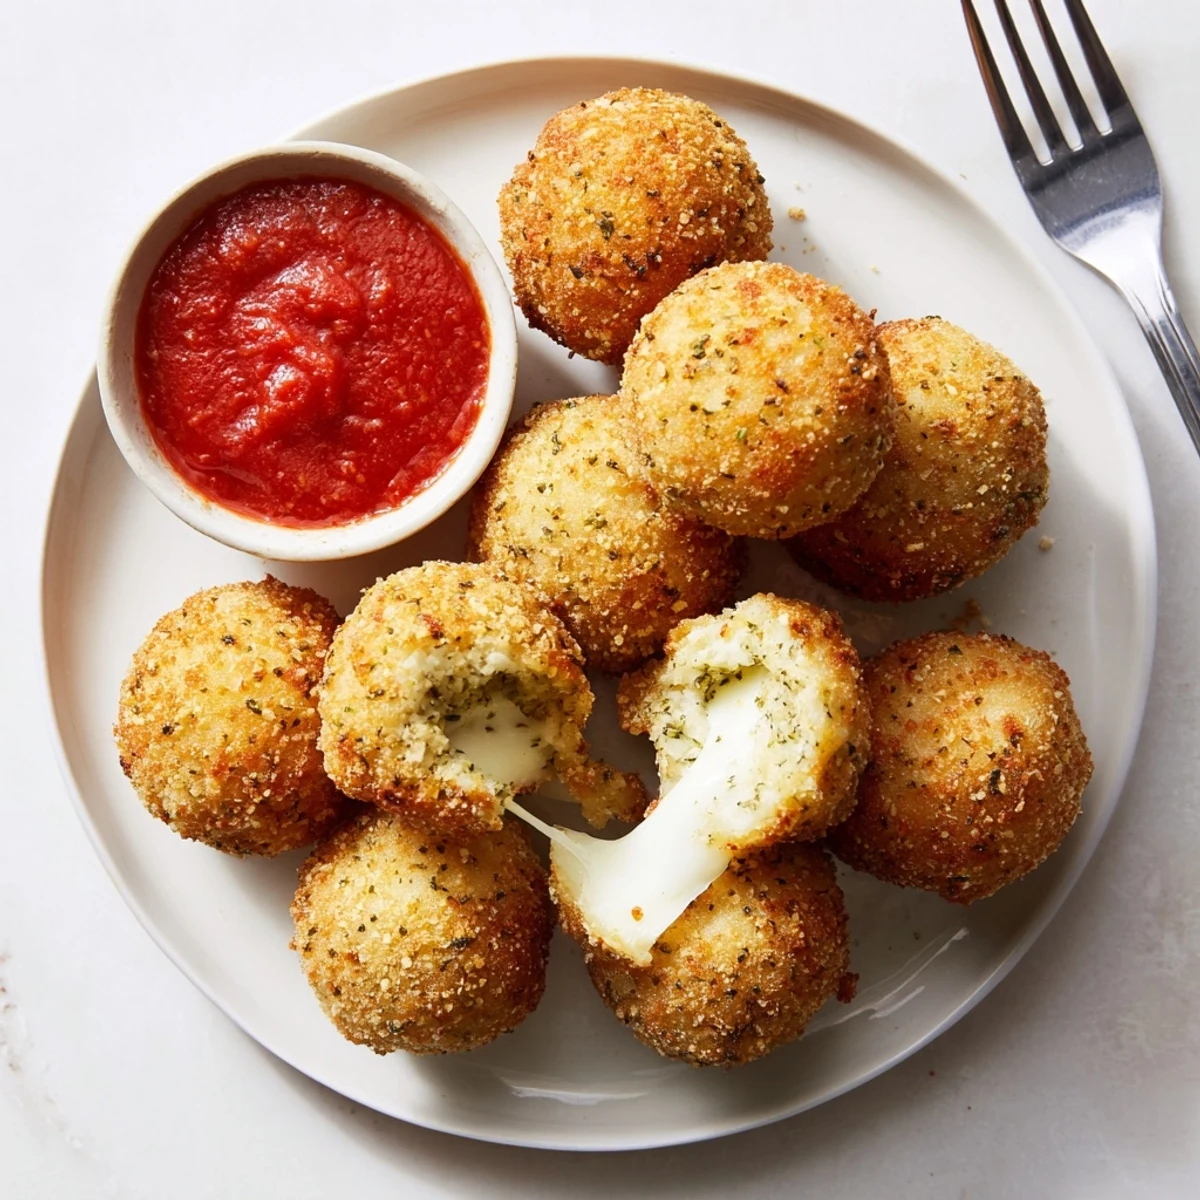
While these are perfect on their own a good dipping sauce takes them to another level. Warm marinara is classic but do not knock garlic aioli or even a spicy honey mustard until you have tried them.
- Arrange them on a warming tray so they stay crispy throughout your party
- Sprinkle with flaky salt immediately after frying for a restaurant finish
- Make extras because these disappear faster than you expect
 Save
Save There is something magical about biting into that first cheese ball and hitting the molten center. Hope your kitchen fills with as much laughter as mine does when these come out of the fryer.
Recipe FAQs
- → How do I prevent the cheese from leaking during frying?
-
Ensure your mozzarella cubes are patted dry before breading. Double coating with egg and breadcrumbs creates a stronger seal. Refrigerating for at least 10 minutes before frying helps the coating set properly.
- → Can I bake these instead of frying?
-
Yes, bake at 200°C (400°F) for 12-15 minutes until golden, turning halfway. The texture will be less crispy than fried versions, but still delicious. Spray lightly with oil for better browning.
- → What dipping sauces work best?
-
Classic marinara is the traditional choice, but garlic aioli, creamy ranch, or spicy arrabbiata sauce complement beautifully. A honey mustard dip also pairs well with the salty cheese.
- → Can I prepare these ahead of time?
-
Bread the mozzarella cubes up to 24 hours in advance and refrigerate. Fry just before serving for the crispiest results. Leftovers can be reheated in the oven at 180°C for 5-7 minutes.
- → What's the best oil temperature for frying?
-
175°C (350°F) is ideal. Too cool and the coating absorbs excess oil, too hot and the outside burns before the cheese melts. Use a kitchen thermometer for consistent results.
- → How do I make them gluten-free?
-
Substitute all-purpose flour with a 1:1 gluten-free flour blend. Use certified gluten-free breadcrumbs or crushed gluten-free cornflakes. All other ingredients remain the same.