 Save
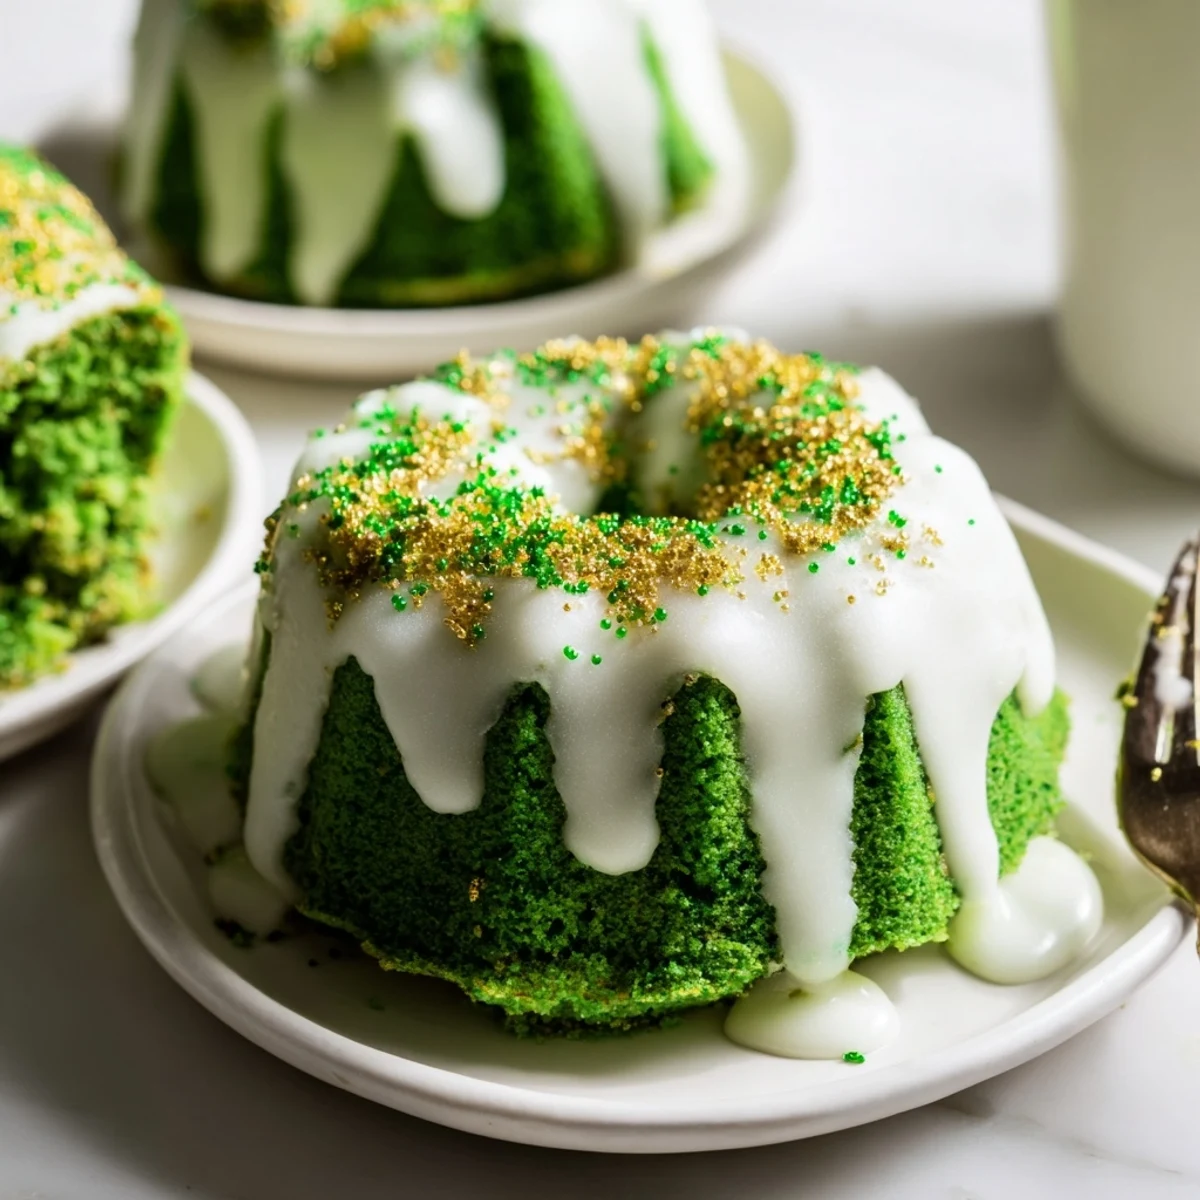
Save These moist, vibrantly green mini bundt cakes feature a subtle hint of chocolate and a tender crumb. The batter combines buttermilk, cocoa powder, and green gel coloring to achieve that signature red velvet texture in an emerald hue. Once baked and cooled, drizzle with a creamy vanilla glaze made from powdered sugar, milk, and vanilla extract. Finish with green and gold sprinkles for festive flair.
Ready in just 45 minutes, these individual cakes are perfect for St. Patricks Day parties or any spring celebration. The buttermilk and vinegar react with baking soda for extra lift, while the butter and sugar create a luxuriously moist texture.
The first time I attempted red velvet cake, I accidentally grabbed green food coloring instead of red. My roommate walked into the kitchen, saw the emerald batter, and immediately declared these lucky St. Patrick's Day cakes. That happy mistake evolved into something I now make every March.
Last year I brought these to a brunch and my friend's five-year-old asked if leprechauns actually baked them. We spent the rest of the morning making up stories about magical bakery helpers. Sometimes the simplest decorations spark the best conversations.
Ingredients
- All-purpose flour: The backbone that gives structure without making these heavy
- Unsweetened cocoa powder: Just enough to hint at chocolate without overpowering the delicate vanilla
- Baking soda: Works with the vinegar to create that signature velvet texture
- Salted butter: Softened properly, it incorporates air for the tenderest crumb
- Granulated sugar: Sweetens while helping the cakes rise and brown beautifully
- Large eggs: Room temperature eggs blend seamlessly into the batter
- Buttermilk: The acidity tenderizes gluten and reacts with baking soda for lift
- White vinegar: Enhances the chocolate's natural flavors and activates the baking soda
- Green gel food coloring: Gel is more concentrated than liquid so you need less
- Powdered sugar: Sifting first prevents lumps in your smooth glaze
- Milk: Adjust the amount until your glaze reaches perfect pouring consistency
- Vanilla extract: Use pure extract for the warmest, roundest flavor
Instructions
- Get your oven ready:
- Preheat to 350°F (175°C) and generously grease your mini bundt pan with butter, getting into every crevice
- Whisk the dry ingredients:
- In a medium bowl, combine flour, cocoa powder, baking soda, and salt until evenly blended
- Cream the butter and sugar:
- Beat softened butter and granulated sugar for about 3 minutes until light and fluffy
- Add the eggs:
- Crack in eggs one at a time, beating well after each addition
- Mix the wet ingredients:
- Combine buttermilk, vanilla extract, vinegar, and green food coloring in a small bowl
- Bring it all together:
- Add half the dry ingredients to the butter mixture, then the buttermilk mixture, then remaining dry ingredients
- Fill the pan:
- Spoon batter into prepared mini bundt pans, filling each about two-thirds full
- Bake until perfect:
- Bake for 18 to 22 minutes until a toothpick inserted in the center comes out clean
- Cool carefully:
- Let cakes rest in the pan for 10 minutes before inverting onto a wire rack
- Make the glaze:
- Whisk powdered sugar, milk, and vanilla until smooth and pourable
- Finish with flair:
- Drizzle glaze over cooled cakes and add sprinkles while still slightly wet
 Save
Save My grandmother always said food that makes people laugh tastes better. These little green cakes have proven her right year after year. They've become the centerpiece of our St. Patrick's Day table, even among the skeptics who insist they do not like dessert.
Getting The Green Right
Start with less food coloring than you think you need. The color bakes slightly darker, and you can always add more. Gel coloring is superior to liquid because it does not throw off your batter's consistency.
Pan Preparation Secrets
I have learned the hard way that bundt pans need more thorough greasing than regular cake pans. Use a pastry brush to get butter into every fluted corner. A quick dusting of flour after greasing adds extra insurance.
Storage And Serving
These stay moist for three days when stored in an airtight container at room temperature. The glaze sets beautifully but remains soft underneath.
- Place a piece of bread in the container to keep cakes fresh longer
- Wait to add sprinkles until right before serving for maximum crunch
- These freeze unfrosted for up to two months if wrapped well
 Save
Save May your kitchen be filled with warmth, laughter, and perhaps a little happy accident of your own.
Recipe FAQs
- → What makes these cakes green?
-
The vibrant green color comes from gel food coloring added to the batter. Start with ½ tablespoon and increase up to 1 tablespoon depending on how deep you want the emerald shade.
- → Can I make these without a mini bundt pan?
-
Yes, you can use a standard 12-cup muffin tin or regular-sized bundt pan. Adjust baking time accordingly—muffins will take about 15-18 minutes, while a large bundt pan will need 35-45 minutes.
- → Why is there cocoa powder if these aren't chocolate cakes?
-
A small amount of cocoa powder enhances the flavor and creates that classic velvet texture without making the cakes taste distinctly chocolate. It complements the buttermilk and vanilla base.
- → How should I store these mini bundt cakes?
-
Store in an airtight container at room temperature for up to 3 days. For longer storage, refrigerate for up to a week. The glaze may soften slightly at room temperature but remains delicious.
- → Can I freeze these cakes?
-
Yes, freeze unfrosted cakes in a freezer-safe bag for up to 3 months. Thaw at room temperature, then add the glaze and sprinkles just before serving for the freshest appearance.
- → What can I substitute for buttermilk?
-
Combine ½ cup milk with 1 teaspoon lemon juice and let it sit for 5 minutes until thickened. This homemade version works just as well as store-bought buttermilk.