 Save
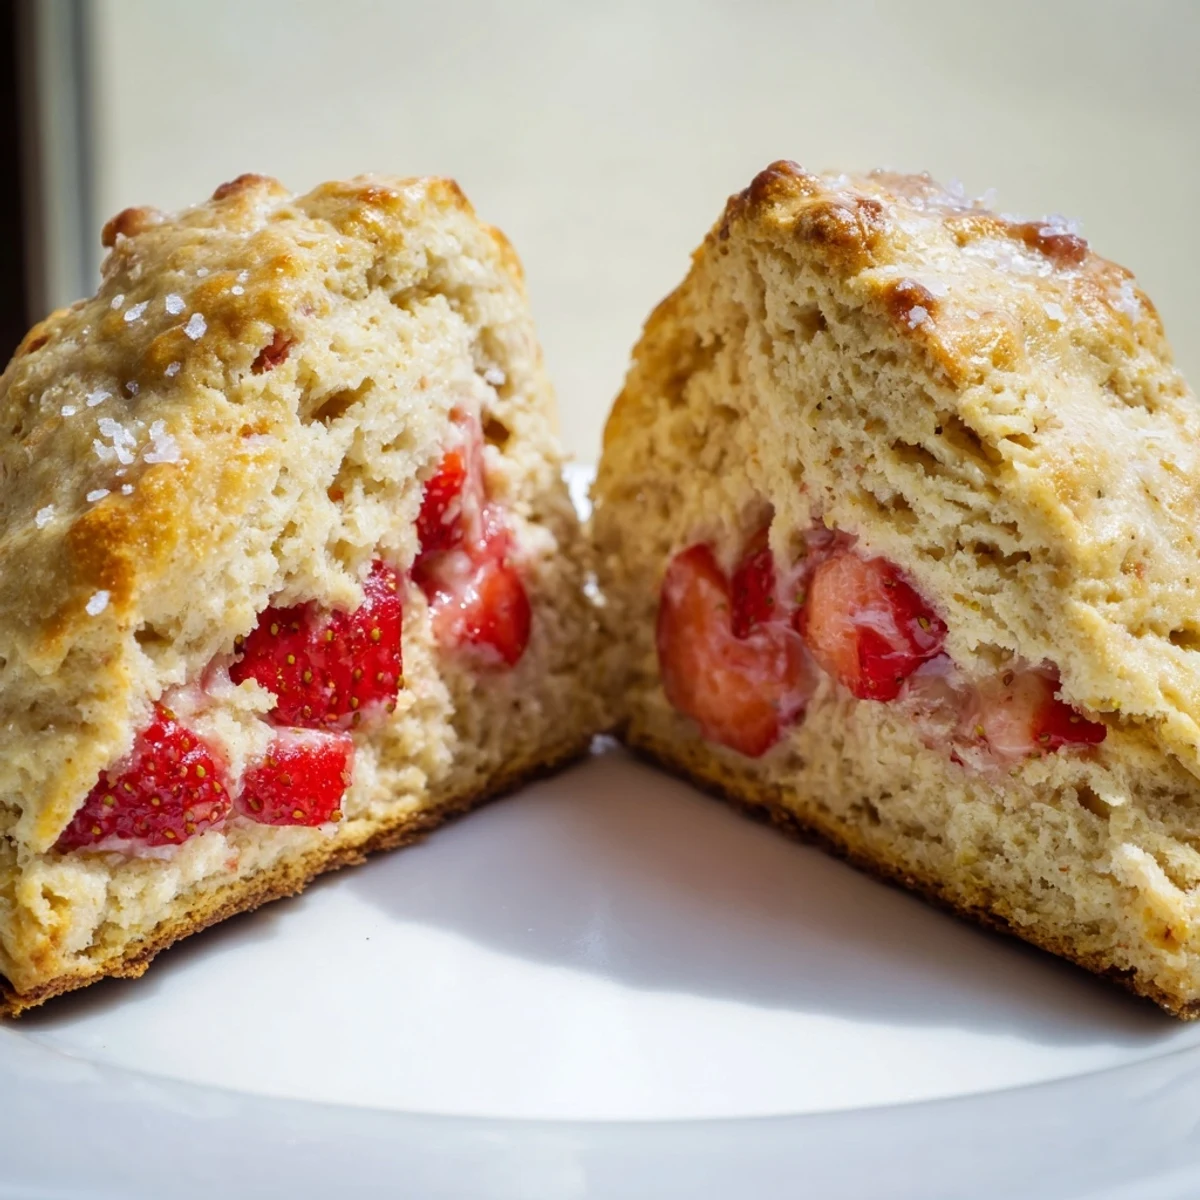
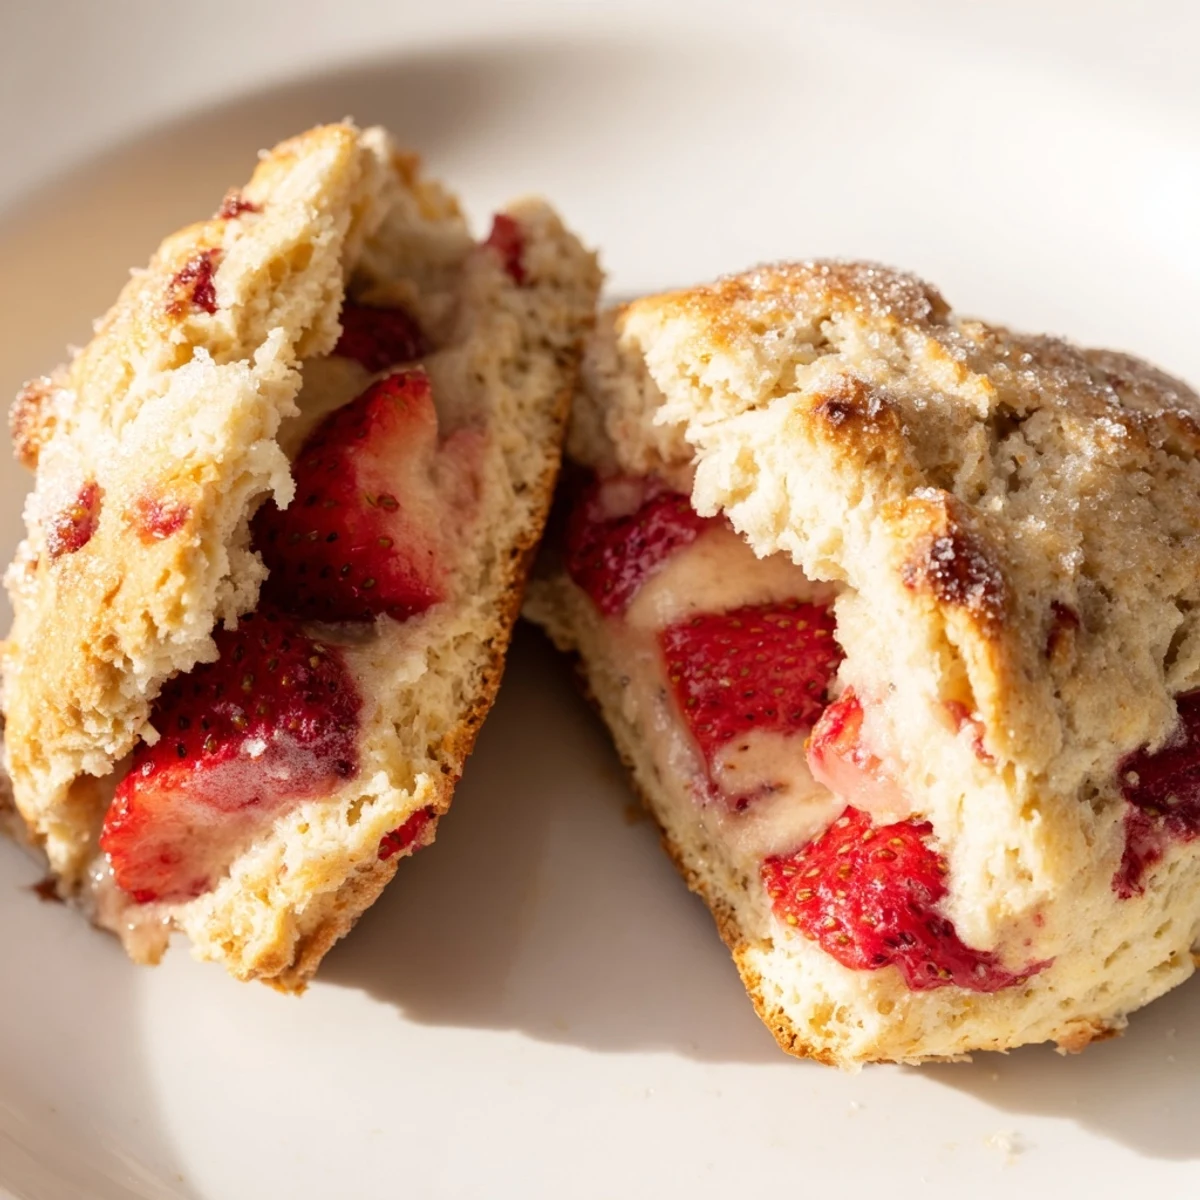
Save These tender, flaky scones combine fresh strawberries with rich cream for an irresistible breakfast or afternoon treat. The dough comes together quickly with cold butter, heavy cream, and sour cream creating that signature light texture. Fresh strawberries are gently folded in, adding bursts of sweetness throughout each wedge. Brush with cream and sprinkle with coarse sugar before baking for a golden, crunchy topping. Ready in just over 30 minutes, these are best served warm with clotted cream or extra fresh berries.
Last spring my sister came over with a basket of strawberries she'd picked that morning, still warm from the sun and impossibly sweet. We stood in the kitchen eating them straight from the carton until our fingers were stained pink, and I somehow convinced myself I should bake something instead of just devouring them all standing there. These scones were the result, and they've become the reason I keep extra cream in the fridge during strawberry season.
I made these for my book club last month and completely forgot about the timer while we were discussing the ending. Caught them just before they burned, but that slight extra crisp on the edges actually made everyone ask for the recipe. Now my friend Sarah texts me whenever strawberry season starts, just to check if I've made a batch yet.
Ingredients
- All-purpose flour: The structure builder here, giving the scones their classic tender crumb while still being substantial enough to hold all those juicy strawberry pieces.
- Granulated sugar: Just enough sweetness to highlight the strawberries without making these feel like dessert, because scones should still feel appropriate for breakfast.
- Baking powder: The lifting agent that creates those lovely flaky layers, so make sure it's fresh for the best rise.
- Salt: A small amount that balances the sweetness and lets the strawberry flavor shine through more clearly.
- Heavy cream: Cold cream creates the most tender, rich dough and ensures your scones stay moist even after cooling.
- Sour cream or Greek yogurt: The secret to keeping these tender, adding a slight tang that pairs beautifully with sweet strawberries.
- Large egg: Helps bind everything together while contributing to the golden color and rich texture.
- Pure vanilla extract: Enhances all the flavors and adds that comforting baked-good aroma while they're in the oven.
- Fresh strawberries: The star of the show, use the ripest ones you can find because their natural sweetness will carry the recipe.
- Cold unsalted butter: Essential for flaky layers, keep it ice cold and work quickly to maintain those tiny butter pockets.
- Extra heavy cream for brushing: Creates that beautiful golden sheen on top and helps the coarse sugar adhere perfectly.
- Coarse sugar: Optional but adds the most satisfying crunch against the tender crumb, like little jewels on top.
Instructions
- Prep your oven and pan:
- Preheat the oven to 400°F (200°C) and line a baking sheet with parchment paper so nothing sticks and cleanup is effortless.
- Whisk the dry ingredients:
- In a large bowl, whisk together the flour, sugar, baking powder, and salt until everything is evenly combined.
- Cut in the cold butter:
- Add the cold butter cubes and use a pastry cutter or your fingertips to work it into the flour until the mixture looks like coarse crumbs with some pea-sized pieces remaining.
- Mix the wet ingredients:
- In a separate bowl, whisk together the cream, sour cream, egg, and vanilla extract until smooth and well combined.
- Combine wet and dry:
- Pour the wet mixture into the dry ingredients and stir gently with a spatula just until the flour is barely moistened, leaving some dry spots visible.
- Fold in the strawberries:
- Gently fold in the diced strawberries, using as few strokes as possible to prevent the dough from becoming tough or turning pink.
- Shape the dough:
- Turn the dough onto a lightly floured surface and gently pat it into a 1-inch-thick round, being careful not to overwork it.
- Cut into wedges:
- Use a sharp knife or bench scraper to cut the dough round into 8 equal wedges, like a pizza.
- Arrange on the baking sheet:
- Transfer the scones to your prepared baking sheet, spacing them about 2 inches apart so they have room to rise and spread slightly.
- Add the finishing touches:
- Brush the tops generously with heavy cream and sprinkle with coarse sugar if you want that bakery-style sparkle and crunch.
- Bake until golden:
- Bake for 16 to 18 minutes until the scones are golden brown on top and a toothpick inserted in the center comes out clean.
- Cool before serving:
- Let the scones cool on the baking sheet for 10 minutes so they set slightly, then transfer them to a wire rack to finish cooling.
 Save
Save My grandmother used to say that scones were best eaten the day they were made, but I've discovered that heating leftover ones in the toaster oven for a few minutes brings back most of their fresh-baked magic. Sometimes I think I actually prefer them slightly warmed the next day, spread with a little salted butter while the coffee brews.
Making Them Ahead
You can freeze the unbaked scones on a baking sheet until firm, then transfer them to a freezer bag for up to a month. Bake them straight from frozen, adding a couple of extra minutes to the baking time. I started doing this during busy weeks and now I always keep a stash in the freezer for unexpected guests or sudden morning cravings.
Choosing Your Strawberries
The smaller, sweeter strawberries work better here than the massive grocery store ones because they hold their shape better during baking. Look for berries that are fragrant and deeply red, avoiding any that have white shoulders or feel hard. If your strawberries are particularly large, cut them into smaller pieces so they distribute evenly throughout the dough.
Serving Suggestions
These scones are wonderful on their own, but splitting them and spreading with clotted cream or mascarpone cheese elevates them to something truly special. They pair beautifully with Earl Grey tea or a strong cup of coffee.
- Try adding lemon zest to the dough for a bright, fresh contrast.
- Swap strawberries for blueberries in the summer or chopped peaches in late summer.
- Freeze any extra scones individually wrapped, then reheat at 350°F for 8 minutes.
 Save
Save There's something so honest about a recipe that lets fresh strawberries truly shine, unburdened by too much technique or complication. These scones have become my favorite way to capture that fleeting moment when strawberries are perfect and the mornings are just cool enough to justify turning on the oven.
Recipe FAQs
- → Can I use frozen strawberries instead of fresh?
-
Fresh strawberries work best as they maintain texture and won't add excess moisture. If using frozen, thaw and pat them completely dry before folding into the dough to prevent soggy scones.
- → How do I know when the scones are done baking?
-
Scones are ready when the tops are golden brown and a toothpick inserted into the center comes out clean. The edges should be lightly browned and they should feel firm to the touch.
- → Can I make the dough ahead of time?
-
Yes, prepare the dough through step 7, wrap tightly in plastic, and refrigerate for up to 24 hours. Cut and bake when ready, adding a few extra minutes if baking from cold.
- → What's the best way to store leftover scones?
-
Store in an airtight container at room temperature for up to 2 days. For longer storage, wrap individually and freeze for up to 3 months. Reheat in a 350°F oven for 5-10 minutes.
- → Can I substitute the heavy cream?
-
Heavy cream provides the best texture and richness. You can substitute with half-and-half, though scones may be slightly less tender. For a dairy-free version, use full-fat coconut cream.