 Save
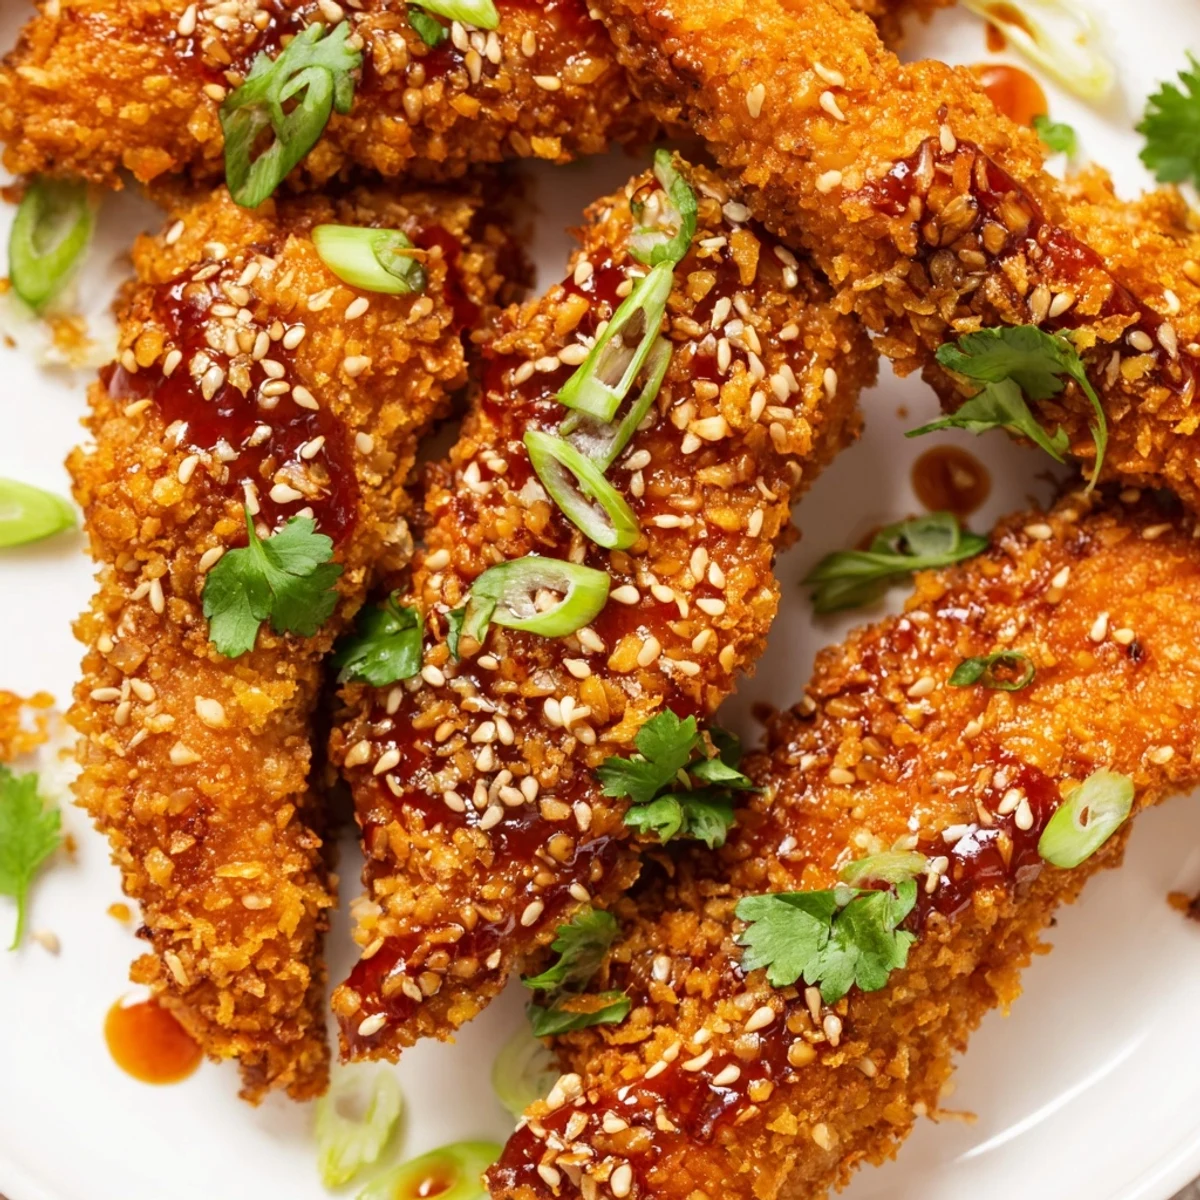
Save These crispy chicken fingers start with tender strips coated in seasoned panko breadcrumbs, baked until golden and crunchy. The magic happens when they're tossed in a warm Thai-inspired sauce made with sweet chili, soy sauce, honey, garlic, and fresh ginger. The glaze coats each finger perfectly, creating that signature sticky finish that's both sweet and savory. Finished with toasted sesame seeds, fresh spring onions, and optional cilantro, these are ideal for parties or family dinner.
The first time I made these, my kitchen smelled like the tiny Thai place around the corner from my first apartment, where the owner knew my order before I spoke. Now my daughter asks for them every Friday, and the ritual of setting up three dipping bowls has become our thing.
Last summer, I doubled the recipe for a backyard gathering and watched them vanish in ten minutes flat. My friend Sarah actually hovered near the platter, claiming she was just keeping an eye on the temperature.
Ingredients
- 500 g boneless chicken tenders: Cutting uniform strips helps everything cook evenly, so take your time with the knife work
- Salt and pepper: Dont skip this first seasoning, it builds the flavor foundation before coating
- 100 g all-purpose flour: The first layer that helps the egg stick, creating that essential adhesive base
- 2 large eggs: Room temperature eggs coat more evenly, so pull them out fifteen minutes before you start
- 120 g panko breadcrumbs: Japanese breadcrumbs create that shatteringly crisp texture that regular crumbs just cant match
- Garlic powder and smoked paprika: This seasoned coating adds a subtle smoky depth that complements the sweet sauce
- 120 ml sweet chili sauce: The backbone of the glaze, look for a brand with real chili flecks visible in the bottle
- 2 tablespoons soy sauce: Adds that crucial umami note and balances the honey with a salty edge
- 1 tablespoon honey: Creates that gorgeous lacquered finish while cutting through the heat
- Rice vinegar and sesame oil: Together they brighten the sauce and give it that distinctive Thai restaurant aroma
- Sriracha: Start with half if youre sensitive to heat, you can always add more but you cant take it back
- Fresh garlic and ginger: Grating the ginger releases more flavor than mincing, and fresh garlic makes all the difference here
- Toasted sesame seeds: I toast mine in a dry pan until they smell nutty, about two minutes, watching closely so they dont burn
- Spring onions and cilantro: These provide a fresh, bright contrast against the rich, sticky coating
Instructions
- Set yourself up for success:
- Preheat your oven to 220°C and line a baking tray with parchment paper, which saves you from scrubbing later
- Season the chicken:
- Sprinkle salt and pepper over both sides of the strips, letting them sit while you prepare the coating station
- Prepare your three dipping bowls:
- Fill the first with flour, the second with beaten eggs, and the third with panko mixed with garlic powder and smoked paprika
- Coat each strip methodically:
- Press the chicken into flour, shake off excess, dip through egg until coated, then press firmly into the panko mixture
- Give them an oil mist:
- Lightly spray or brush the coated strips with oil, focusing on getting an even layer for maximum crunch
- Bake until golden:
- Cook for 20 to 25 minutes, flipping halfway through, until theyre deeply golden and cooked through
- Simmer the sauce:
- Combine sweet chili sauce, soy sauce, honey, rice vinegar, sesame oil, sriracha, garlic, and ginger in a small pan over medium heat for 2 to 3 minutes until slightly thickened
- The glorious toss:
- Pour the warm sauce over the hot chicken in a large bowl and fold gently until every piece glistens
- Finish with flair:
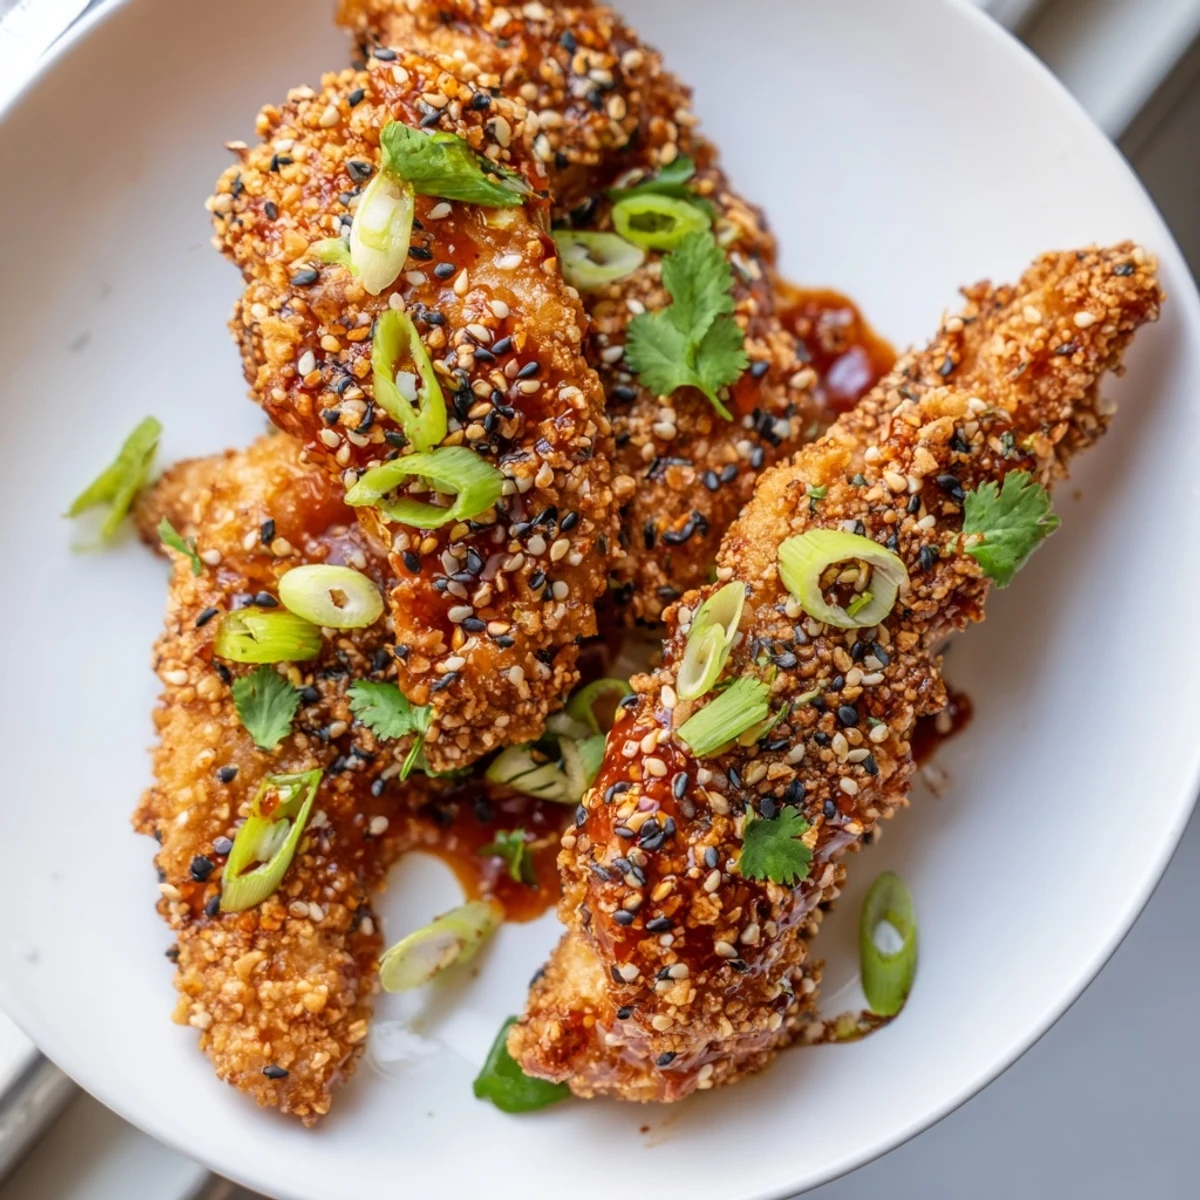
- Scatter sesame seeds, spring onions, and cilantro over the top while theyre still sticky so everything adheres
 Save
Save These have become my go-to when friends need cheering up, something about the combination of textures and flavors just makes people pause between bites and smile.
Making The Sauce Work Harder
The secret is letting the sauce reduce until it coats the back of a spoon, that extra minute of simmering transforms it from glaze to something that clings beautifully.
The Oven Versus Fried Debate
I used to deep fry these until my neighbor showed me that spraying oil on panko before baking achieves almost the same crunch with way less mess and cleanup time.
Scaling For A Crowd
When feeding more than four people, set up two coating stations to keep the process moving, or enlist a helper because the battering step takes longer than you expect.
- Line your baking tray with fresh parchment if making multiple batches
- Keep the first batch warm in a 150°C oven while finishing the rest
- Double the sauce, because people will want extra for dipping
 Save
Save Nothing beats pulling that tray from the oven, hearing the crisp crackle, and watching everyone reach in at once.
Recipe FAQs
- → How do I get the crispiest chicken fingers?
-
Bake at 220°C (425°F) and lightly spray or brush the coated strips with oil before baking. For extra crunch, broil for 2 minutes at the end of cooking time.
- → Can I make these ahead of time?
-
Prepare the sauce up to 2 days in advance and store refrigerated. Coat and bake the chicken just before serving for best texture. Leftovers can be reheated in the oven at 180°C for 10 minutes.
- → What can I serve with Thai sticky chicken?
-
Pair with jasmine rice, fresh vegetable sticks, or a simple cucumber salad. The dish also goes well with a chilled Riesling or light lager to balance the sweet and spicy flavors.
- → Is this sauce very spicy?
-
The sauce has mild to medium heat from sweet chili sauce. Add sriracha if you prefer more spice. You can adjust the heat level by adding less sriracha or omitting it entirely.
- → Can I fry instead of bake these chicken fingers?
-
Yes, fry in oil at 180°C (350°F) for 3-4 minutes until golden brown and cooked through. Drain on paper towels before tossing with the sticky sauce.