Save
Save Start by proofing yeast in warm milk with sugar, then stir in softened butter, egg and salt. Knead flour into a smooth, elastic dough and let it rise until doubled. Divide into 12 pieces, spoon in garlic butter with mozzarella and Parmesan, seal, and let rise again. Bake at 180°C (350°F) for 20–25 minutes until golden, then brush with garlic butter and sprinkle parsley. Serve warm; freeze leftovers for easy reheating.
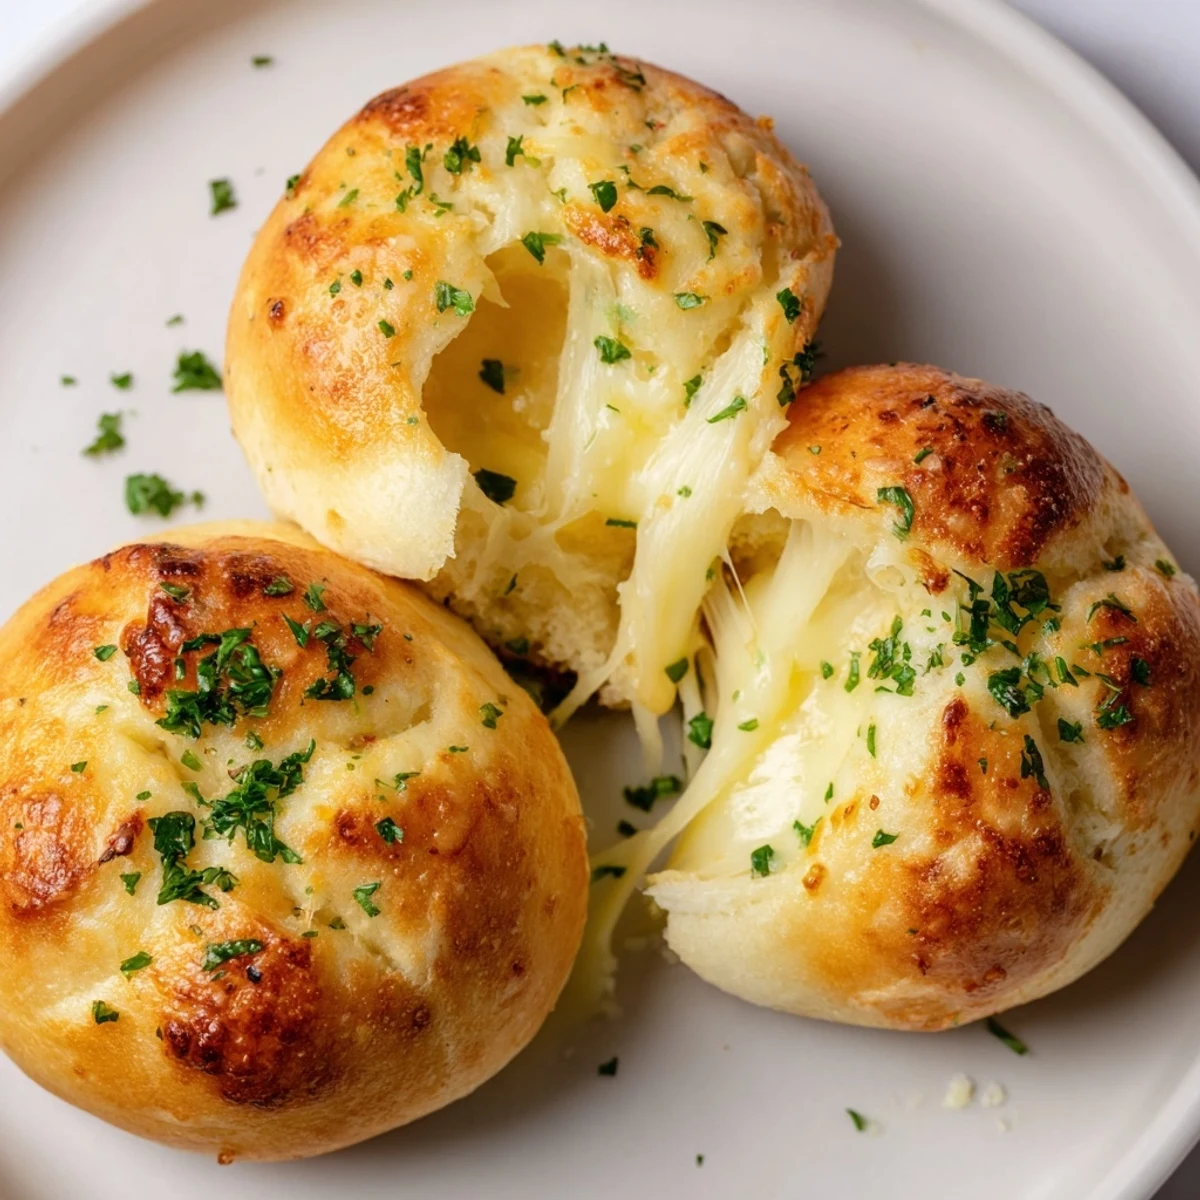
There are moments in the kitchen when the world quiets down, like the hush before these cheese garlic rolls emerge, golden and makeshift pillows, from the oven. I didn’t set out to make them fancy—I just needed something warming for a rainy afternoon. The swirl of butter and garlic against soft bread has since become my favorite kind of edible comfort. Sometimes the scent of toasted cheese seems to draw everyone in before the rolls even hit the table.
I remember one time when these rolls disappeared before dinner even began—a case of everyone “sampling just one” straight off the tray. The kitchen turned briefly competitive, laughter bubbling up as we each tried to claim the cheesiest piece, buttery fingerprints dotting napkins and counters alike. Food isn’t always about the recipe itself, but that communal scramble to grab the warmest roll first.
Ingredients
- All-purpose flour: I always measure carefully and give it a quick fluff; too much can make the rolls dense, so don’t pack it down.
- Active dry yeast: Fresh yeast is everything—wait for the bubbles so you know it’s working before moving on.
- Sugar: Just enough sweetness wakes up the yeast and balances all that savory filling.
- Salt: Never skip it—it makes the flavors shine and keeps the bread from tasting flat.
- Warm milk: It should be cozy-warm, like a gentle bath, never hot or you’ll risk unhappy yeast.
- Unsalted butter: Both in the dough and for brushing—use good butter for best results and let it soften at room temp first.
- Egg: The extra richness helps give that lovely soft crumb; crack it into a separate bowl just in case.
- Mozzarella cheese: Shredded from a block melts best, making every bite stretchy and luscious.
- Parmesan cheese: I use the real stuff if possible for a sharper bite—finely grate it for even distribution.
- Garlic: Freshly minced is fragrant and essential for both the filling and topping—don’t be shy.
- Fresh parsley: A sprinkle of green brightens up each roll visually and in flavor, but you can skip or swap as you like.
- Dried Italian herbs: Just a pinch can make your kitchen smell like a good pizzeria—feel free to improvise.
Instructions
- Bloom the Yeast:
- Stir warm milk, sugar, and yeast in a big bowl, feeling the anticipation with every swirl. Wait for bubbles to form like little clouds on the surface—when you smell that whiff of yeast, you’re ready.
- Mix and Knead:
- Combine in the butter, egg, and salt, then add flour slowly, hands dusted, until a sticky dough forms. Knead until the dough feels springy and smooth—windows steamed up, maybe a little flour spilled on the floor.
- First Rise:
- Tuck the dough into a greased bowl, cover, and set it somewhere warm where good things tend to happen. Let it puff up to twice its size; an hour always feels just right.
- Prepare Filling:
- Melt the butter and stir in the garlic, cheeses, and herbs, inhaling the heady aromas—this is what makes everyone hungry.
- Shape the Rolls:
- Punch down the dough (there’s a quiet satisfaction to this), cut into pieces, and flatten each into a little canvas. Heap the filling in, pinch closed, and roll gently into tidy balls.
- Second Rise:
- Set them on a parchment-lined tray, seam-side down, then cover loosely. Let them rise again as the oven preheats and anticipation builds.
- Bake:
- Pop the rolls into the oven and bake until they’re golden brown, the kitchen filled with hints of cheese and toasted garlic.
- Finish with Topping:
- While still hot, brush generously with garlic butter and parsley, watching the sheen transform each roll into something irresistible.
 Save
Save The batch I made for a friend’s birthday brunch had guests trailing into the kitchen asking what that astonishing smell was. Every roll vanished, and someone tried to barter for the last one—a reminder of just how much love can hide inside simple flour and cheese.
Getting Ahead for Gatherings
If you want to prep these for a party, shape the rolls and place them on the tray, then let them rise in the fridge overnight. The cold helps develop extra flavor, and in the morning, you just bake them off with minimal fuss.
Mixing Up the Filling
Once I tossed in a handful of chili flakes for some heat—don’t be afraid to riff with your favorite cheeses or fresh herbs. Sharp cheddar or a bit of smoked provolone have both been hits, and you can sprinkle in a little chopped sun-dried tomato too.
Serving and Storing Leftovers
These rolls are eye-rollingly good straight from the oven, but leftovers are still a treat if you rewarm them for a few minutes to bring back the bread's softness. If you manage not to eat them all, tuck extras in the freezer and revive with a quick toast—they come out nearly as fresh as day one.
- Don’t forget to use parchment for easy cleanup.
- If your kitchen’s chilly, set the bowl on a turned-off oven to help the dough rise.
- Cheese stretches are part of the deal—embrace the mess.
 Save
Save Sharing these rolls always sparks conversation and second helpings—they’re warm company all on their own. Let each bite remind you that some kitchen magic comes from letting yourself improvise.
Recipe FAQs
- → How do I keep the rolls soft and tender?
-
Proper proofing and kneading are key: proof the yeast in warm milk, knead until the dough is smooth and elastic, and allow it to rise fully. Avoid overbaking and brush with butter while hot to lock in moisture.
- → Can I swap the cheeses?
-
Yes. Mozzarella gives stretch while Parmesan adds sharpness. Swap in fontina, provolone or a mild cheddar for different flavor profiles; adjust salt if using stronger cheeses.
- → Should I bake the rolls from frozen or thaw first?
-
For frozen rolls, thaw in the refrigerator overnight, then let come to room temperature and rise briefly before baking. Alternatively, bake from frozen with an extra 8–12 minutes, checking for golden color and internal heat.
- → Is a stand mixer necessary for the dough?
-
No—hand kneading works fine. A stand mixer with a dough hook speeds the process and reduces effort, but knead by hand for 6–8 minutes until the dough is smooth and slightly tacky.
- → How can I prevent the filling from leaking out?
-
Use a moderate amount of filling, flatten dough evenly, and pinch seams tightly to seal. Chill very wet fillings briefly or drain excess butter so seals hold during the second rise and baking.
- → What oven temperature and timing give the best crust?
-
Bake at 180°C (350°F) for 20–25 minutes for a golden exterior and soft interior. For a darker crust, raise the oven slightly in the last few minutes but watch closely to avoid overbrowning.