 Save
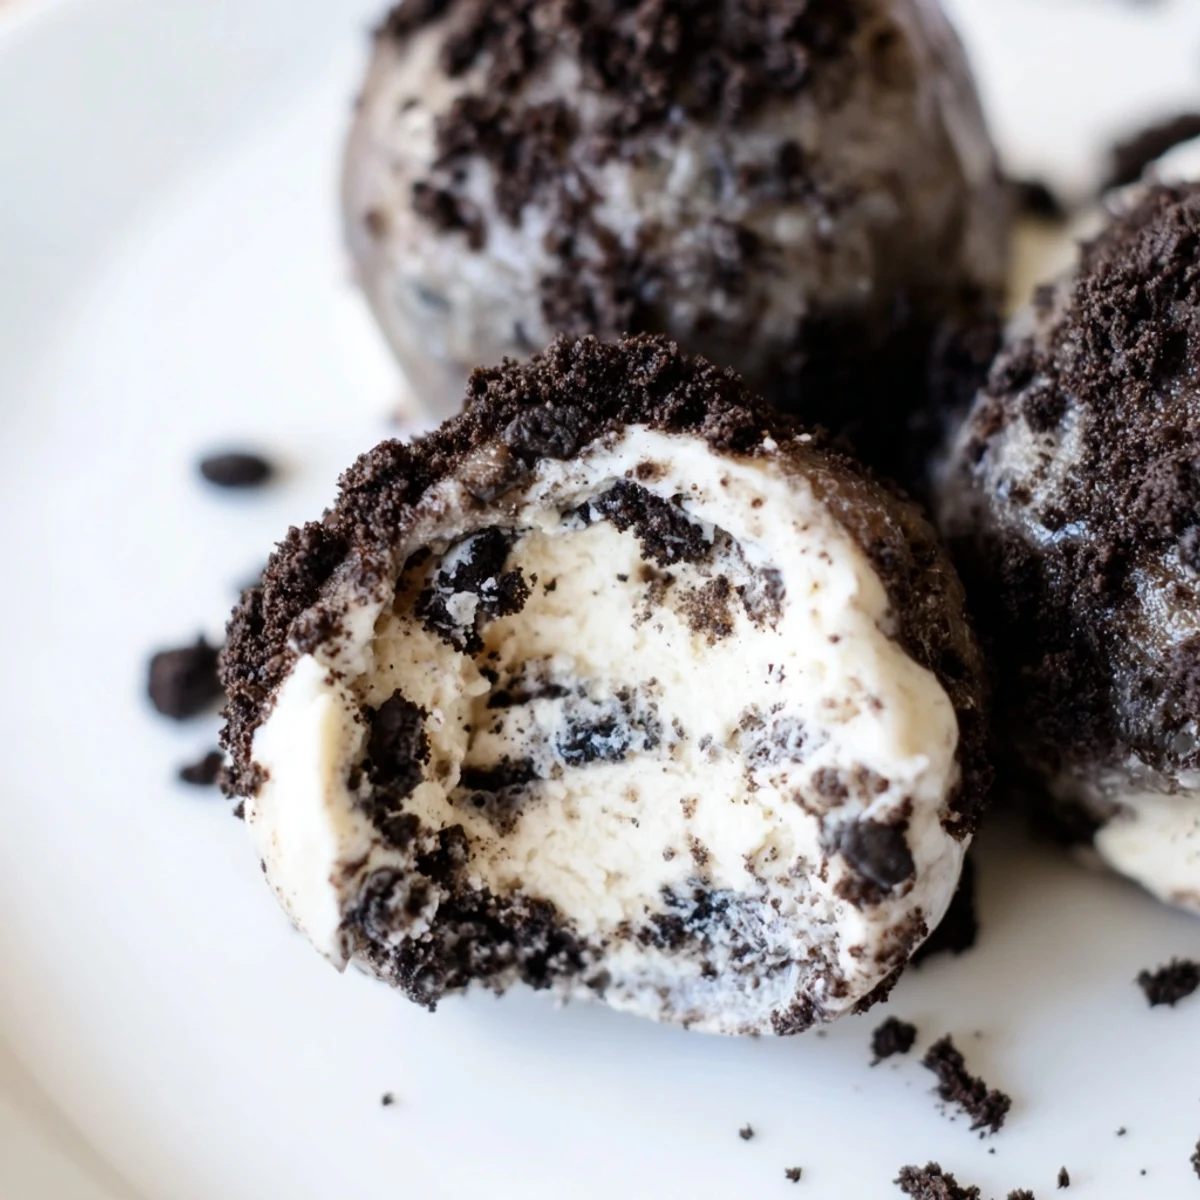
Save These creamy protein-packed balls combine smooth cream cheese with crushed Oreos and protein powder for a satisfying no-bake treat. The entire process takes just 15 minutes, plus optional chilling time. Simply mix softened cream cheese with cookie crumbs, protein powder, milk, and powdered sugar until a thick dough forms. Roll into tablespoon-sized balls and coat with extra Oreo crumbs for that perfect cookies and cream finish.
The mixture is highly customizable—adjust consistency with more protein powder for thicker dough or additional milk for smoother texture. Refrigerate for 30 minutes to firm up, though they can be enjoyed immediately. Store in an airtight container for up to 5 days, making them ideal for meal prep or quick snacking throughout the week.
I stumbled onto this recipe during one of those late afternoon slumps when I wanted something sweet but not guilty. My protein powder sat lonely in the cupboard, and there was a half-empty package of Oreos staring back at me. Five minutes later, I was rolling sticky dough between my palms, wondering why I had not thought of this sooner.
My brother walked in while I was coating them in extra crumbs and immediately stole three off the parchment paper. Now he texts me every week asking if I have made another batch. They have become my go-to for gym days and unexpected guests alike.
Ingredients
- Softened cream cheese: The creamy foundation that holds everything together
- Crushed Oreos: Crush them finely for smoother texture or leave chunks for extra crunch
- Protein powder: Vanilla or chocolate work beautifully here
- Milk: Just enough to bring the dough together without making it sticky
- Powdered sugar: Balances the tang from cream cheese
- Extra Oreo crumbs: For coating the outside perfectly
Instructions
- Beat the cream cheese:
- Whip it in a large bowl until completely smooth and fluffy
- Combine everything:
- Mix in the crushed Oreos, protein powder, milk, and powdered sugar until a thick dough forms
- Check the texture:
- Add more protein powder if sticky or a splash of milk if too dry
- Roll into balls:
- Scoop tablespoon portions and roll between your palms into smooth rounds
- Coat them:
- Roll each ball in extra Oreo crumbs until evenly covered
- Chill and serve:
- Refrigerate for at least thirty minutes then enjoy with optional chocolate drizzle
 Save
Save These little balls of happiness saved me during exam week when I needed quick energy between study sessions. Now they are a staple in my meal prep routine.
Making Them Your Own
Swap reduced-fat cream cheese for a lighter version or use gluten-free sandwich cookies if needed. I have tried peanut butter protein powder and it was a game changer.
Storage Secrets
Keep them in an airtight container in the refrigerator for up to five days. They actually get better as the flavors meld together.
Serving Ideas
These shine as post-workout fuel or as a healthier dessert option. I like to set them out at parties and watch people guess the secret ingredient.
- Add mini chocolate chips before rolling for extra texture
- Drizzle with melted chocolate for a fancy finish
- Double the batch because they disappear fast
 Save
Save Hope these become your new favorite grab-and-go treat.
Recipe FAQs
- → Can I use different protein powder flavors?
-
Absolutely. Vanilla or chocolate protein powder work beautifully in this mixture. For extra cookies and cream flavor, try using a cookies and cream protein powder variant. The powder you choose will subtly influence the final taste profile.
- → How do I prevent the mixture from being too sticky or dry?
-
If your dough feels too sticky, add another spoonful of protein powder until it becomes manageable. Conversely, if the mixture is crumbly or dry, incorporate a small splash of milk. The goal is a thick, pliable dough that holds its shape when rolled into balls.
- → Can I make these gluten-free?
-
Yes. Simply substitute traditional Oreos with gluten-free sandwich cookies. Most other ingredients are naturally gluten-free, though always check your protein powder label to ensure it meets your dietary requirements.
- → How long do these protein balls last?
-
Store them in an airtight container in the refrigerator for up to 5 days. The chilling time also helps them firm up and develop better texture. They can also be frozen for longer storage—just thaw in the refrigerator before enjoying.
- → Can I reduce the calories?
-
For a lighter version, use reduced-fat cream cheese and consider reducing the powdered sugar. The protein powder already provides sweetness, so you might not need as much additional sugar. You can also skip the chocolate drizzle to save on calories while still enjoying a delicious treat.
- → Do I need to chill them before serving?
-
Chilling for at least 30 minutes helps the balls firm up and makes them easier to handle. However, you can enjoy them immediately after rolling—they'll just be slightly softer. The flavor actually improves after chilling as the ingredients meld together.