 Save
Save These traditional British-style muffins deliver everything you love about café-quality breakfast breads. The dough combines bread flour with whole milk and butter, creating a sturdy yet tender base that rises beautifully. After proofing, each muffin is griddle-cooked to develop that signature golden-brown crust with a soft, pillowy interior.
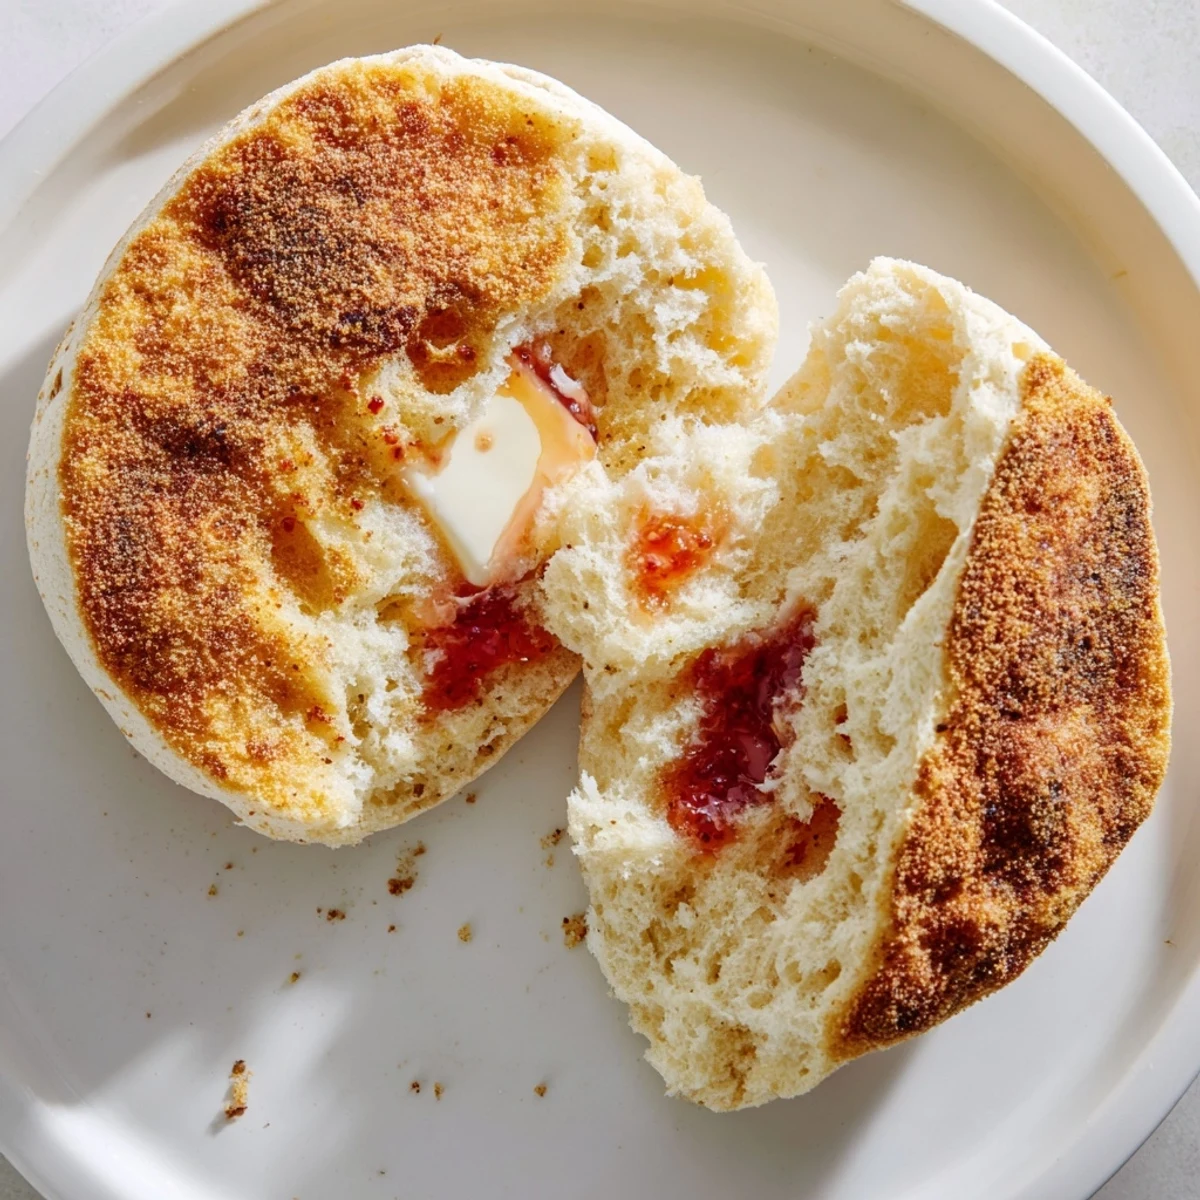
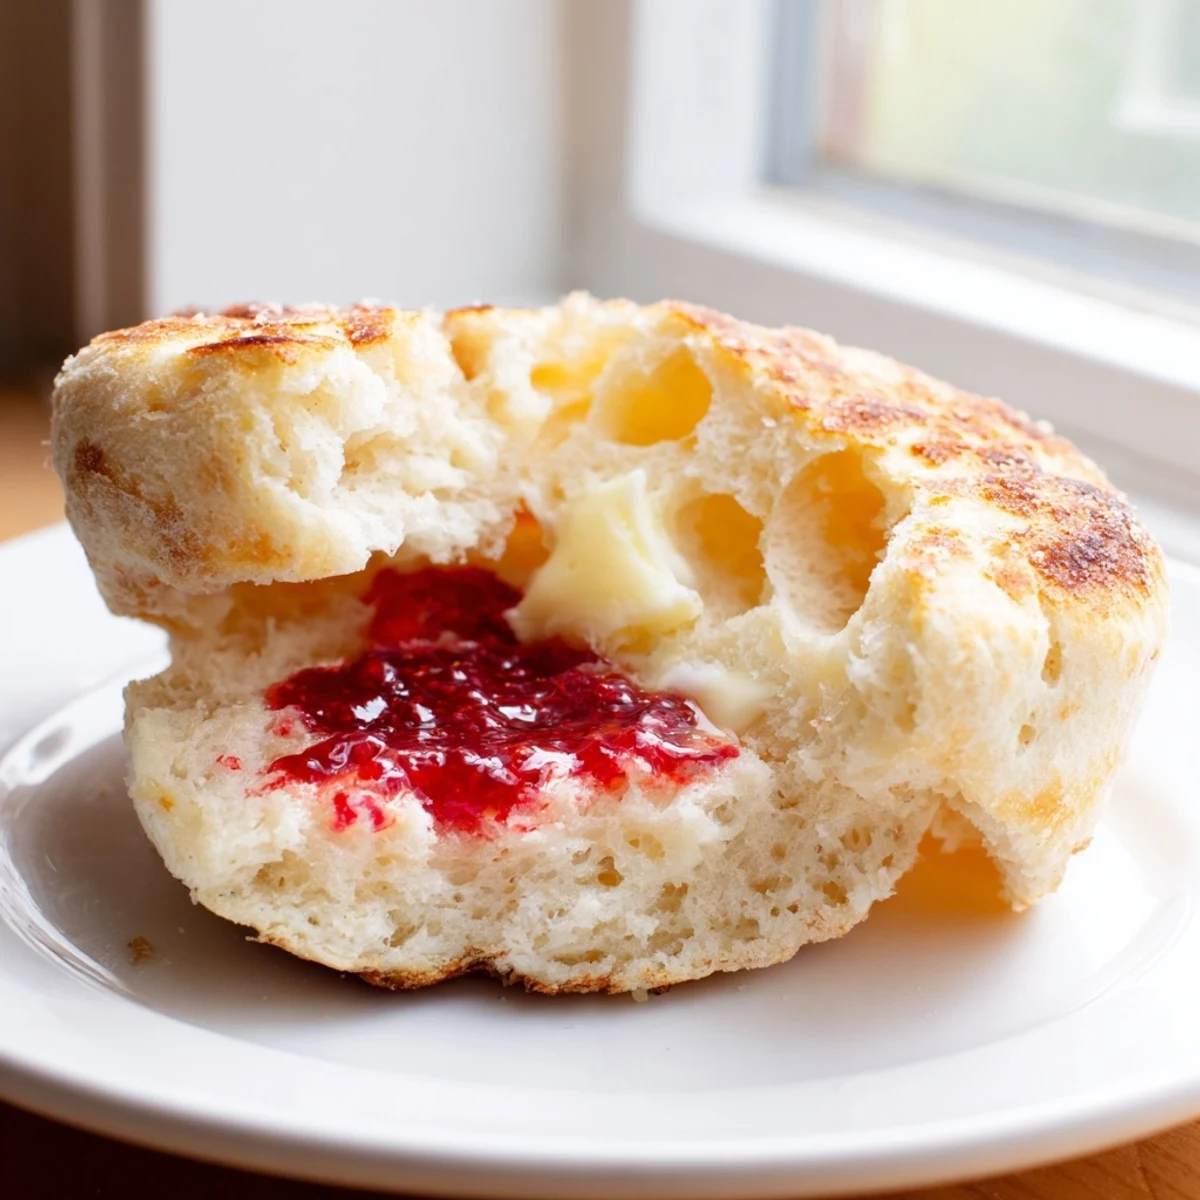
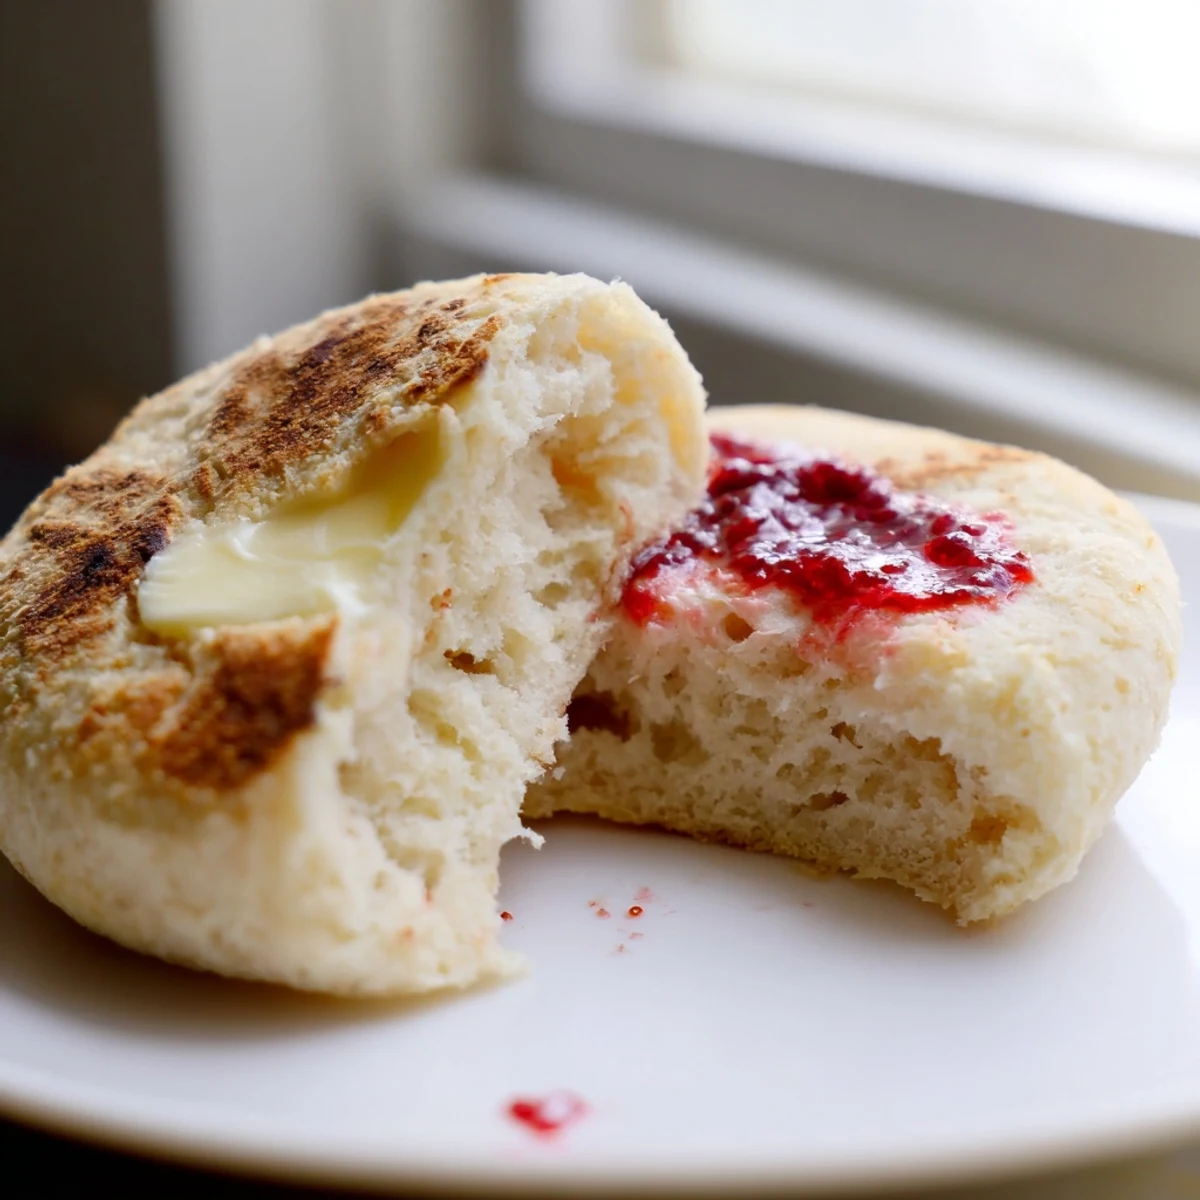
The key to achieving those characteristic nooks and crannies lies in the cooking method—low-medium heat ensures even baking without burning, while the cornmeal dusting adds delightful crunch and prevents sticking. Split them with a fork to maximize those craggy pockets that capture melted butter and jam perfectly.
Ready in about 2.5 hours with mostly hands-off rising time, these muffins freeze exceptionally well and can be customized with additions like cinnamon or raisins. Whether for weekend brunch or afternoon tea, they're worth every minute of preparation.
My kitchen smelled like a bakery that morning. I had been trying to replicate that perfect English muffin texture for months. The ones from the store never had those craggy interiors I craved. When I finally pulled these golden disks from the skillet, I knew I had stumbled onto something special.
Last winter my sister visited and we spent an entire Sunday making these together. We had flour everywhere and kept burning the first few batches because we were too busy talking. By dinner we had perfected our technique and ate them warm with salted butter, still in our aprons.
Ingredients
- Bread flour: This higher protein flour creates the chewy texture that makes English muffins so satisfying to eat
- Whole milk: The milk fat tenderizes the dough and adds richness that water alone cannot provide
- Active dry yeast: Make sure your yeast is fresh and give it time to properly activate or your muffins will not rise
- Granulated sugar: Just enough to feed the yeast and add a subtle sweetness that balances the salt
- Fine sea salt: Do not reduce the salt as it provides essential flavor and strengthens the gluten structure
- Unsalted butter: Melted butter adds tenderness and that wonderful buttery aroma while they cook
- Cornmeal or semolina: This dusting creates the classic crunchy exterior and prevents sticking while giving them that traditional look
Instructions
- Wake up the yeast:
- Combine the yeast and sugar in the lukewarm milk and let it sit until you see a frothy layer on top indicating the yeast is alive and ready to work.
- Build the foundation:
- Mix the flour and salt in a large bowl then create a well in the center before pouring in the activated yeast mixture and melted butter.
- Bring it together:
- Stir everything until a rough shaggy dough forms then turn it onto a floured surface and knead until smooth and elastic.
- Let it rise:
- Place the dough in an oiled bowl cover it and leave it in a warm spot until it has doubled in size which usually takes about an hour.
- Shape the muffins:
- Punch down the risen dough roll it out and cut rounds with a cutter then transfer them to a cornmeal dusted baking sheet.
- Second rise:
- Let the shaped muffins proof covered until they look slightly puffy and feel airy to the touch.
- Cook to golden perfection:
- Cook them on a griddle over medium low heat for 7 to 9 minutes per side until deeply golden and they sound hollow when tapped.
 Save
Save My daughter now requests these for her birthday breakfast instead of cake. She stands on her step stool and helps me cut the rounds. Those quiet morning moments in the kitchen have become our favorite tradition.
Mastering the Griddle
Getting the temperature right on your griddle makes all the difference. I learned this after scorching three batches in a row. The surface should be hot enough that a drop of water sizzles but not so hot that the butter smokes instantly. Medium low heat gives the muffins time to cook through completely while developing that gorgeous golden crust that makes them irresistible.
The Fork Splitting Technique
This was a game changer for me. Instead of cutting with a knife which creates smooth sides use a fork to pierce around the edges and pull the halves apart. This reveals all those beautiful crags and crevices that English muffins are famous for. The rough surface holds onto melted butter and jam in ways a knife cut slice never could. It takes a bit of practice but the texture difference is absolutely worth it.
Make Ahead Strategy
I always double this recipe because the effort is the same whether I make eight or sixteen. Once they are completely cool I wrap them individually and freeze them. They thaw overnight on the counter and toast up beautifully in the morning. Having homemade English muffins ready to go makes busy weekday mornings feel special.
- Wrap cooled muffins tightly in plastic wrap then place in a freezer bag for up to two months
- Thaw on the counter for an hour or pop frozen ones directly in the toaster extending the time slightly
- Refresh day old muffins by splitting and toasting to restore that freshly made texture
 Save
Save There is nothing quite like warm English muffins fresh from the skillet with butter pooling in every crevice. These have become a weekend staple in our house and I hope they find a permanent place in your kitchen too.
Recipe FAQs
- → Why split English muffins with a fork instead of a knife?
-
Using a fork to split your muffins preserves those signature nooks and crannies that make them perfect for holding butter and jam. A knife compresses the interior, while prying with forks creates rough, textured surfaces that toast beautifully and trap toppings.
- → Can I make the dough ahead of time?
-
Absolutely. After the first rise, you can punch down the dough and refrigerate it overnight (up to 12 hours). Let it come to room temperature for about 30 minutes before rolling and cutting. This actually develops flavor and makes handling easier.
- → What's the purpose of cornmeal dusting?
-
Cornmeal serves two purposes: it prevents the dough from sticking during cooking and adds a subtle texture and crunch to the finished muffins. Semolina works similarly if you prefer a slightly finer texture. Both are traditional elements that contribute to the authentic experience.
- → How do I know when the muffins are fully cooked inside?
-
The best method is using an instant-read thermometer—they're done when the internal temperature reaches 200°F (93°C). Visual cues include deep golden-brown coloring on both sides and a hollow sound when tapped. If they're browning too quickly, reduce the heat and cook longer.
- → Can I bake these in the oven instead of using a griddle?
-
While you can bake them at 375°F (190°C) for 15-18 minutes, you'll miss that characteristic griddled crust. The skillet method creates the classic exterior texture and slightly flattened shape. If baking, use a hot baking stone or preheated sheet pan to mimic the bottom heat of a griddle.
- → Why does the dough need two rising periods?
-
The first rise develops structure and flavor through yeast fermentation. The second, shorter proof after shaping allows the cut muffins to puff slightly before cooking, ensuring they're light and airy rather than dense. Skipping either rise results in flat, tough muffins lacking that signature texture.