 Save
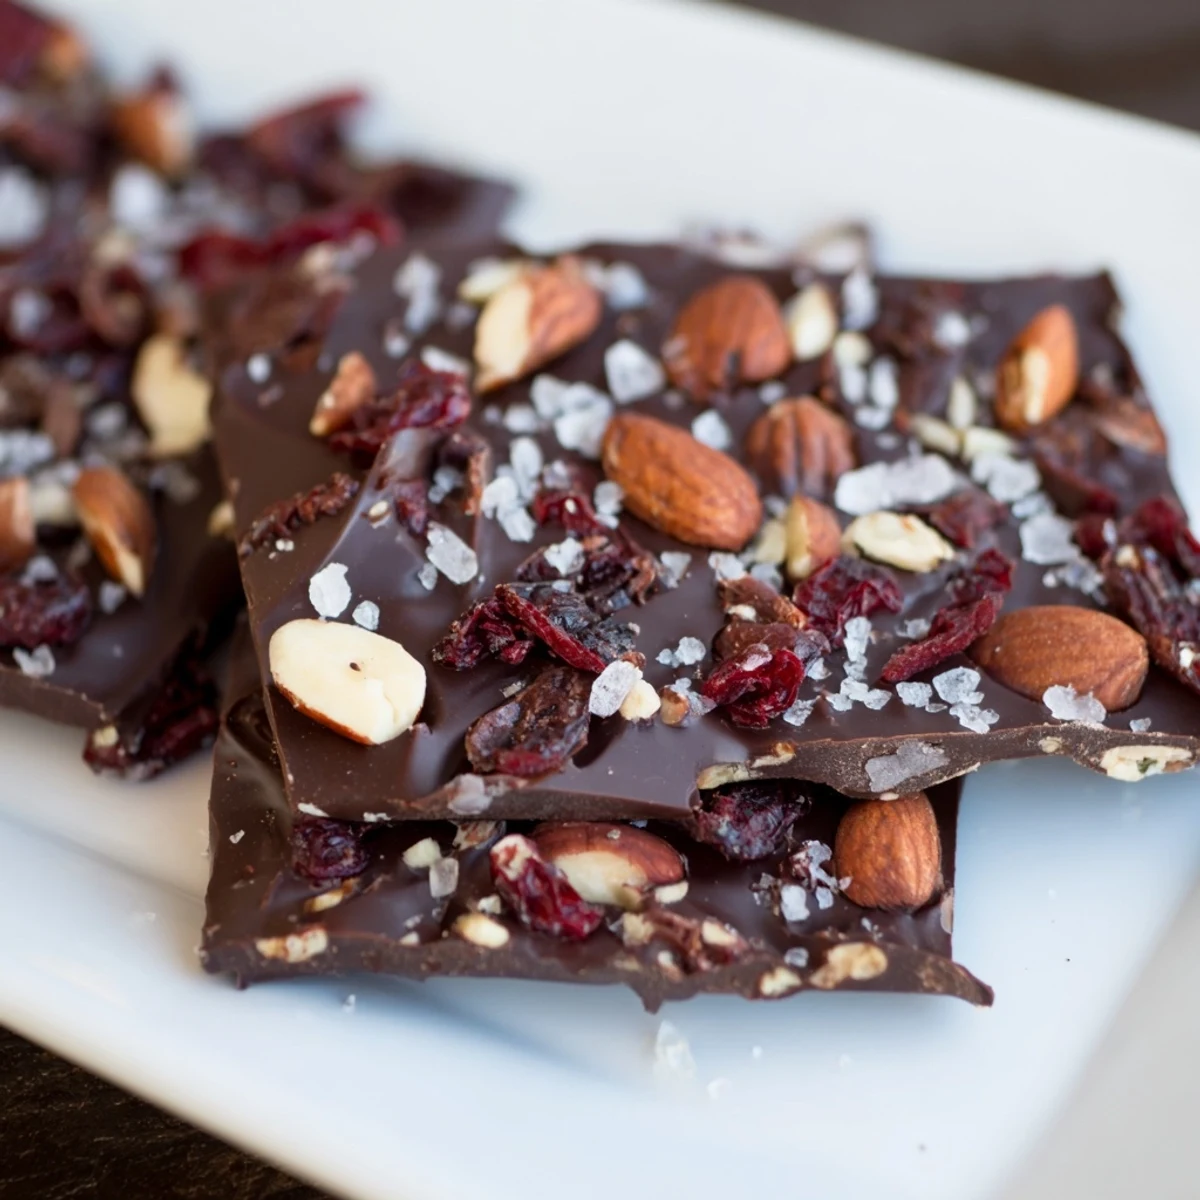
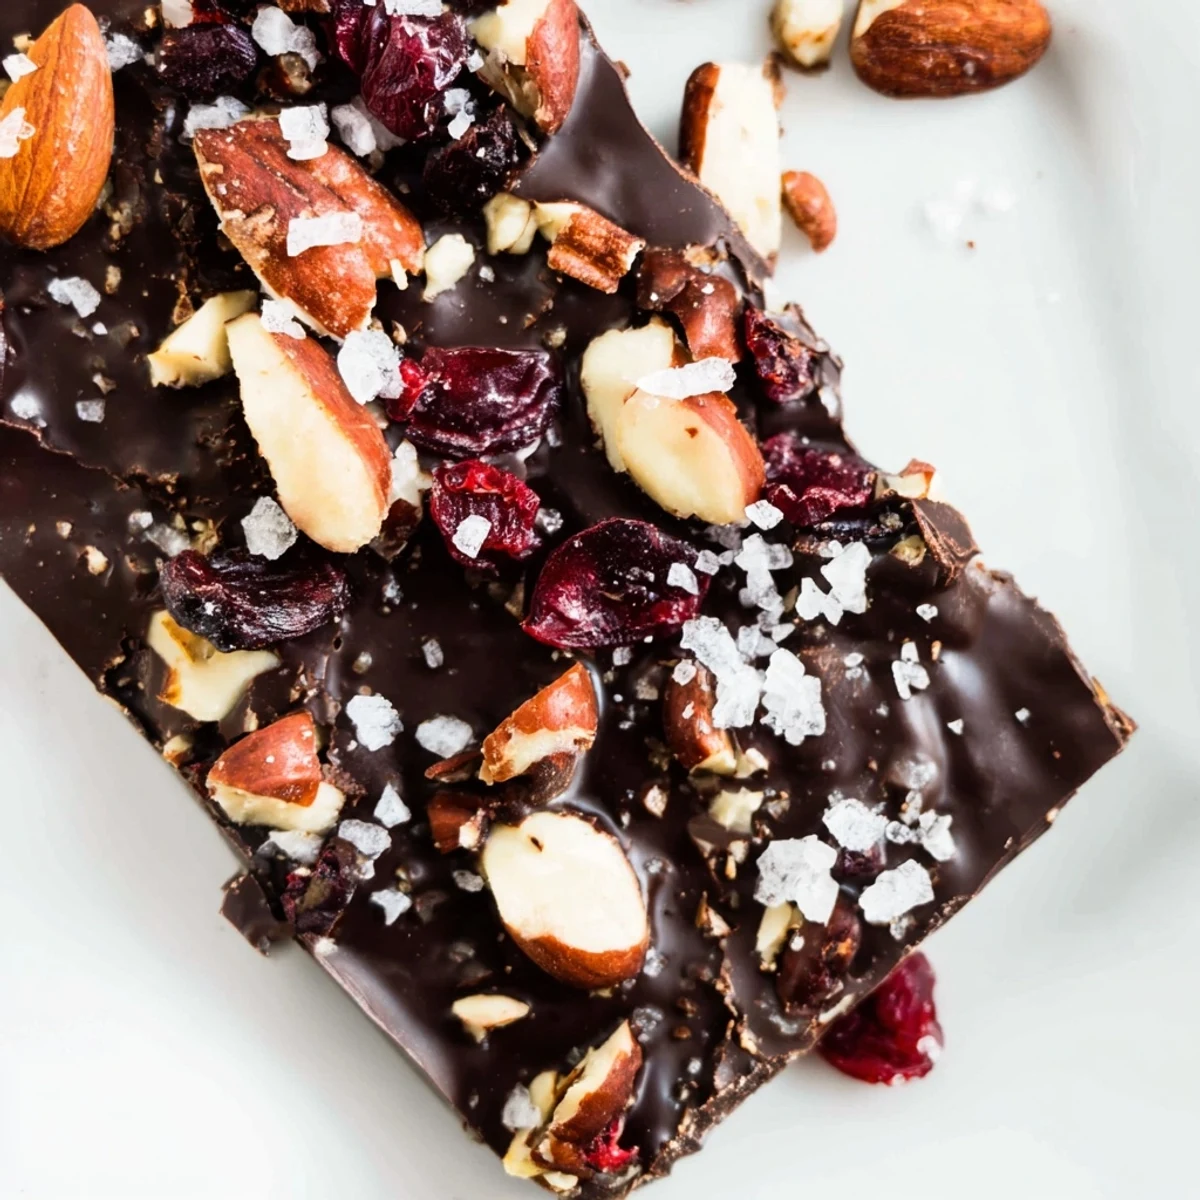
Save This rich dark chocolate bar combines smooth melted chocolate with crunchy roasted nuts for a delightful texture contrast. You start by melting high-quality dark chocolate with optional coconut oil for smoothness, then stir in mixed nuts and dried fruit if desired. The mixture is poured into a lined pan, topped with flaky sea salt, and chilled until set. Once firm, it's sliced into bars, offering an indulgent, gluten-free, vegetarian snack. Variations include using milk or white chocolate, swapping nuts or adding zest for extra flavor.
There's something magical about tempering chocolate at home for the first time—the smell alone makes you feel like you've unlocked a secret. I discovered these bars on a quiet Saturday morning when I had leftover roasted nuts and a craving for something that felt both indulgent and handmade. Ten minutes later, I had a chocolate slab cooling in my fridge that tasted infinitely better than anything I could buy, and I haven't looked back since.
I brought a batch to a friend's dinner party once, wrapped in brown paper with a ribbon, and watched their face light up when they tasted the contrast of smooth chocolate against the crunch of nuts. That moment—when homemade food reminds someone that you made it with your own hands—never gets old.
Ingredients
- High-quality dark chocolate (300 g, at least 60% cocoa): This is your star, so choose something you'd actually eat on its own; the better the chocolate, the better your bars will taste.
- Roasted mixed nuts (80 g, roughly chopped): Almonds, hazelnuts, walnuts, and pecans all work beautifully together, but feel free to use whatever you love.
- Coconut oil (1 tbsp, optional): A tiny bit makes the chocolate silkier and easier to work with, especially if your kitchen runs cool.
- Dried cranberries or raisins (1 tbsp, optional): A touch of tartness cuts through the richness and adds little pops of sweetness.
- Flaky sea salt (1/2 tsp, for topping): The salt doesn't make things salty—it makes the chocolate taste more like itself.
Instructions
- Prep your stage:
- Line your 20 x 20 cm pan with parchment paper, letting it drape over the edges so you can lift the finished bar right out. Chop your chocolate into small, even pieces—they'll melt faster and more evenly.
- Melt gently:
- Set up a double boiler (a heatproof bowl over simmering water) and let the chocolate melt slowly, stirring every so often. You'll know it's ready when it's smooth and glossy; don't rush this or let water splash in.
- Fold in the good stuff:
- Pull the bowl off the heat and stir in your nuts and any dried fruit, coating everything in chocolate. This is your moment to taste the chocolate and feel that first crunch of nut against your spoon.
- Spread and settle:
- Pour the mixture into your prepared pan and smooth it with a spatula so it's even. Tap the pan gently on the counter a few times to release air bubbles, then sprinkle salt on top if you're using it.
- Chill and set:
- Refrigerate for at least 40 minutes until the chocolate is fully firm and snaps cleanly when you break it.
- Cut and serve:
- Run a thin knife around the edges, then lift the whole slab out using the parchment overhang. Cut into bars with a warm, clean knife for neater edges, or break it by hand for a more rustic look.
 Save
Save My neighbor came over and watched me make these one afternoon, and by the end, she was planning her own batch for her kids' lunches. There's something about watching chocolate transform into something you made yourself that makes it feel less like dessert and more like a small act of care.
Flavor Variations Worth Trying
Once you've made this basic version, the fun begins. Orange zest stirred into warm chocolate creates a sophisticated bitterness-meets-brightness moment, while a tiny pinch of chili flakes adds a whisper of heat that makes people ask what's in it. I've also swapped the cranberries for chopped dried cherries and added a handful of toasted seeds, which gave the bars a completely different personality.
Storage and Sharing
These bars keep beautifully in an airtight container at room temperature for up to two weeks, though they never last that long in my house. If your kitchen is warm, store them in the fridge and pull them out five minutes before eating so the chocolate isn't brittle.
Making It Your Own
The magic of this recipe is how forgiving it is—swap the dark chocolate for milk or white chocolate if you prefer something sweeter, use any nuts you have on hand, or skip the salt entirely if you're not into that flavor play. Some of my best batches have come from improvising with what's in the pantry.
- If you can't find good chocolate, order it online rather than settling for grocery store baking chocolate.
- Warm your cutting surface slightly with hot water before cutting for cleaner, less crumbly bars.
- These make incredible gifts when wrapped individually in wax paper and tied with twine.
 Save
Save Making chocolate bars at home transforms something ordinary into a moment of indulgence you actually made yourself. That's worth savoring.
Recipe FAQs
- → What type of chocolate works best?
-
High-quality dark chocolate with at least 60% cocoa ensures a rich flavor and smooth texture, but milk or white chocolate can be used for a sweeter result.
- → Can I customize the nut selection?
-
Yes, feel free to use your favorite roasted nuts or seeds to suit your taste preferences or dietary needs.
- → How do I melt chocolate properly?
-
Use a double boiler method by warming a bowl over simmering water and stirring gently until smooth to avoid burning or seizing.
- → What is the purpose of adding coconut oil?
-
Coconut oil helps create a smoother texture and shinier finish but is optional depending on the desired consistency.
- → How long should I chill the bars?
-
Chilling for at least 40 minutes in the refrigerator allows the chocolate to fully set and harden before cutting.
- → Are these bars suitable for gluten-free diets?
-
Yes, provided all ingredients are gluten-free and nut allergies are considered, these bars fit a gluten-free lifestyle.