 Save
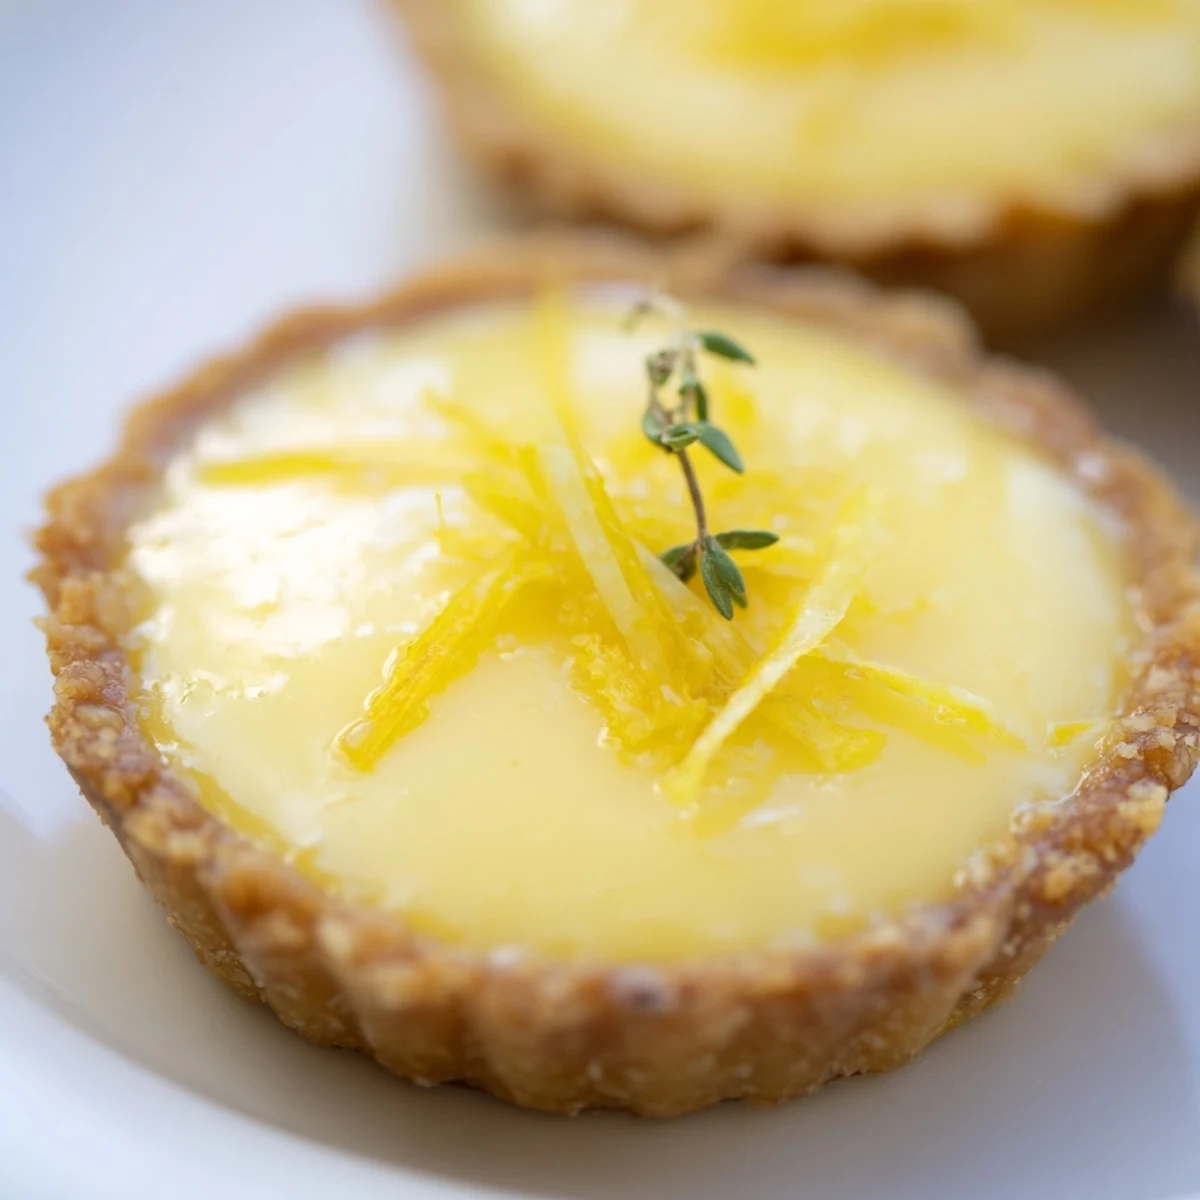
Save This bright and tangy tart pairs a creamy lemon filling with a crisp, buttery shell. The tart shell is made from all-purpose flour and cold butter, creating a tender, flaky base. Fresh lemon juice and zest provide a refreshing citrus flavor balanced by eggs, sugar, and cream, baked to a smooth, slightly wobbly texture. Perfect as an elegant starter or finger food, it can be garnished with lemon zest and fresh herbs for added aroma and appeal. Preparation and baking take under an hour, making it accessible for a medium skill level.
There's something about the moment when you bite into a warm lemon tart and that buttery shell shatters under your teeth—suddenly you're transported to a café somewhere in Provence, even if you're just standing in your own kitchen. I discovered these little jewels while attempting to impress someone at a dinner party, and what started as nervous improvisation became my most-requested appetizer. The filling is silky, the citrus hits just right, and honestly, the whole thing comes together faster than you'd expect for something that tastes this elegant.
I made these for my sister's baby shower on a humid July afternoon, and watching them come out of the oven—golden and barely jiggling in their little pans—felt like pure magic. Someone asked for the recipe before they'd even finished their first one, which I took as the highest compliment. Now they show up at every celebration in our family, and I've learned that people will eat way more of these than you'd expect.
Ingredients
- All-purpose flour: The foundation of a tender crust; keeping it cold and not overworking the dough is the secret to that crisp, shattered bite.
- Cold unsalted butter: Those tiny cold pieces create the flaky texture; if your butter gets warm, start over.
- Salt: Just a whisper to balance the sweetness and bring out the lemon's brightness.
- Cold water: Added slowly so your dough stays tender; too much and you'll have tough shells.
- Eggs: These bind the filling and give it that silky custard-like texture.
- Granulated sugar: Sweetness that lets the lemon shine rather than overpower it.
- Fresh lemon zest and juice: The heart of the tart; fresh lemons make all the difference—bottled juice tastes like disappointment.
- Heavy cream: This luxurious addition smooths out the filling and adds richness without heaviness.
- Melted butter: Brushed into the filling for depth and a subtle richness that ties everything together.
Instructions
- Make the dough:
- Mix flour and salt, then cut in your cold butter until it looks like rough breadcrumbs—you want those little butter pockets to stay distinct. Sprinkle in cold water just until the dough comes together; overworking it will make your shells tough instead of tender.
- Shape and chill:
- Roll the dough thin on a lightly floured surface and press it into your mini tartlet pans, letting it come up the sides slightly. Prick the bottoms with a fork so they don't puff up during baking, and chill while your oven preheats.
- Pre-bake the shells:
- Bake empty shells at 375°F for about 10 minutes until they're pale golden and set but not colored. This prevents a soggy bottom, which is the enemy of a good tart.
- Prepare the filling:
- While the shells bake, whisk eggs with sugar until pale and thick, then fold in the zest, juice, cream, and melted butter. The mixture should be smooth and pourable, with visible flecks of lemon throughout.
- Fill and bake:
- Pour the lemon filling into your warm pre-baked shells until nearly full. Bake for 12 to 15 minutes—the tops should be set but the centers will still have a slight wobble, which is exactly what you want for that perfect creamy texture.
- Cool and serve:
- Let them cool to room temperature before unmolding, then chill until serving. The flavors deepen as they cool, and they taste even better the next day if you can resist eating them immediately.
 Save
Save I once made these for a potluck where someone brought store-bought desserts, and watching people choose my humble little tarts felt like winning something. They disappeared faster than I could refill the platter, and that's when I realized food is really just love with ingredients.
The Secret to a Perfect Shell
The difference between a mediocre and exceptional tart shell comes down to temperature and patience. Everything needs to stay cold—your ingredients, your hands, your work surface if possible. I learned this the hard way after making shells that turned into hockey pucks, and now I keep my butter in the freezer and work quickly. The moment you feel the dough coming together, stop; resist the urge to knead or fold it more.
Making Them Ahead
You can bake the empty shells up to three days ahead and store them in an airtight container, then fill them fresh on the day you're serving. This is a game-changer if you're hosting, because it means your oven stress is cut in half. I've also frozen unbaked shells for up to two weeks—just add a few extra minutes to the pre-baking time if they go straight from freezer to oven.
Flavor Variations and Pairings
The lemon filling is bright and classic, but these tarts are incredibly versatile if you want to play around. I've made them with lime for a tropical twist, added a pinch of black pepper for intrigue, and even scattered tiny capers on top for those who like a savory note with their sweet. They pair beautifully with crisp white wines, sparkling water with fresh mint, or strong espresso for contrast.
- A grind of black pepper in the filling adds sophistication without announcing itself.
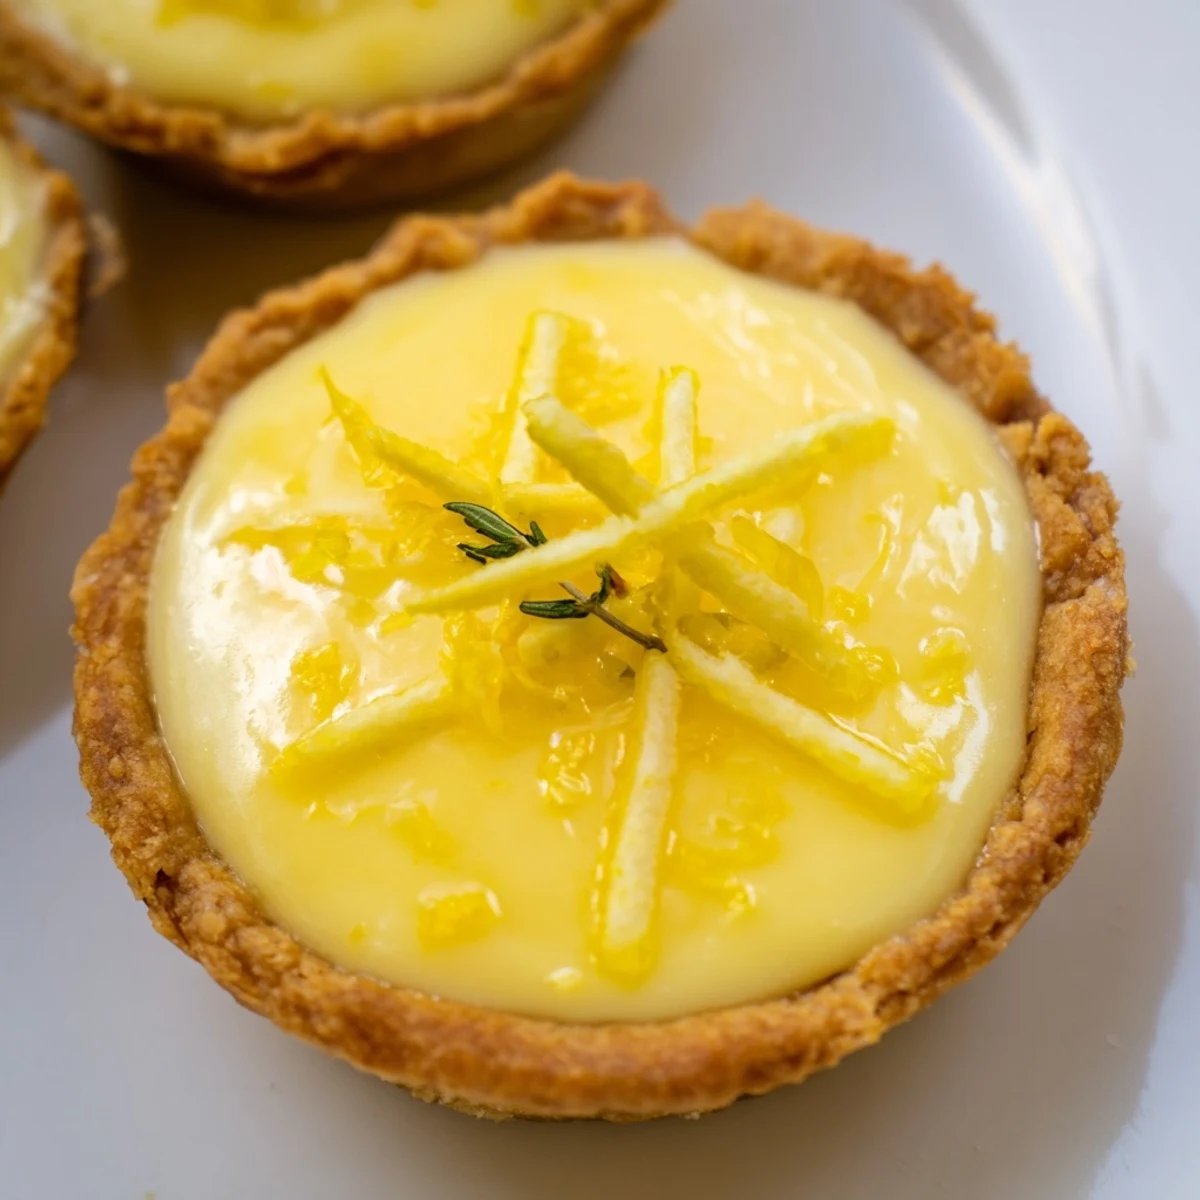
- Fresh herbs like thyme or basil on top echo the sophistication of a professional kitchen.
- For gluten-free guests, swap in a reliable gluten-free flour blend with confidence.
 Save
Save These tarts are proof that something elegant doesn't have to be complicated, and that sharing food is the warmest way to say you care. Make them once and you'll understand why I keep coming back to them.
Recipe FAQs
- → What gives the tart its tangy flavor?
-
The tangy flavor comes from the fresh lemon juice and zest used in the creamy filling.
- → How is the tart shell made crisp?
-
The shell combines cold cubed butter with flour and cold water, then is baked to create a crisp, flaky texture.
- → Can the crust be made gluten-free?
-
Yes, substituting all-purpose flour with a gluten-free blend allows for a gluten-free version.
- → What is the best way to serve these tarts?
-
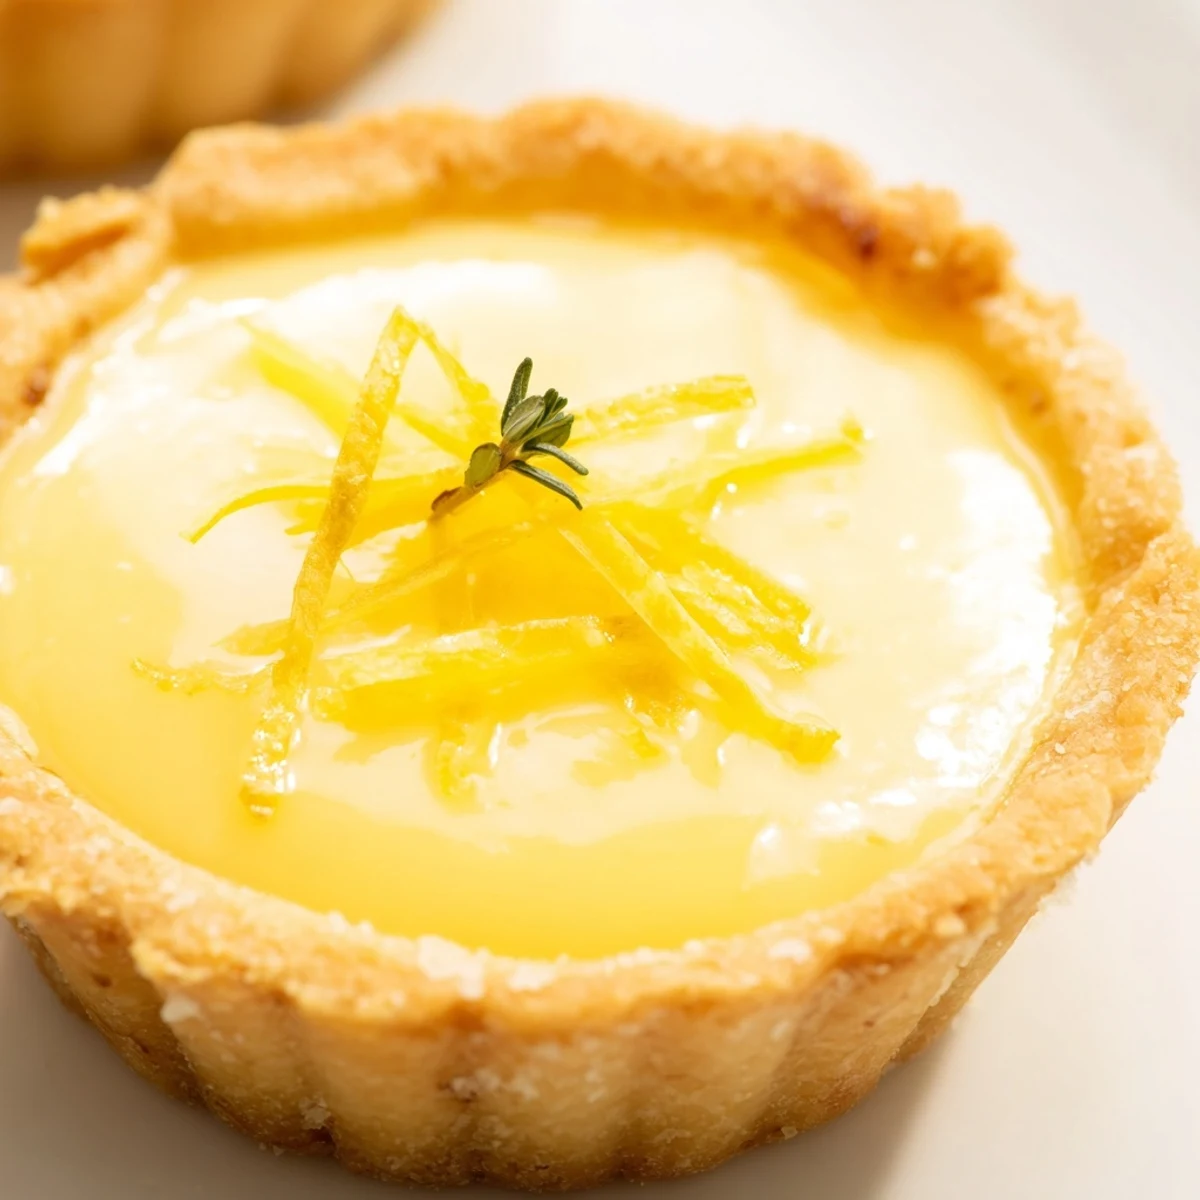
They can be served chilled or at room temperature, garnished with lemon zest and fresh herbs for extra freshness.
- → How do eggs affect the filling texture?
-
Eggs help set the filling during baking, creating a smooth and slightly wobbly consistency.
- → Are there any suggested wine pairings?
-
Crisp Sauvignon Blanc or sparkling wine complement the bright citrus flavors nicely.